I used to think false lashes just weren’t for me. Every time I tried, they either stuck out awkwardly, lifted at the corners, or made my eyes feel heavy and uncomfortable.
Most tutorials made it look effortless, but when I stood in front of my mirror, lash glue drying too fast, everything felt stressful instead of glamorous.
Once I slowed down and learned the right way to apply false lashes, everything changed.
Applying lashes isn’t about being “good at makeup”—it’s about understanding lash placement, proper glue timing, trimming techniques, and eye shape compatibility.
When those pieces come together, false lashes can look natural, flattering, and feel comfortable all day.
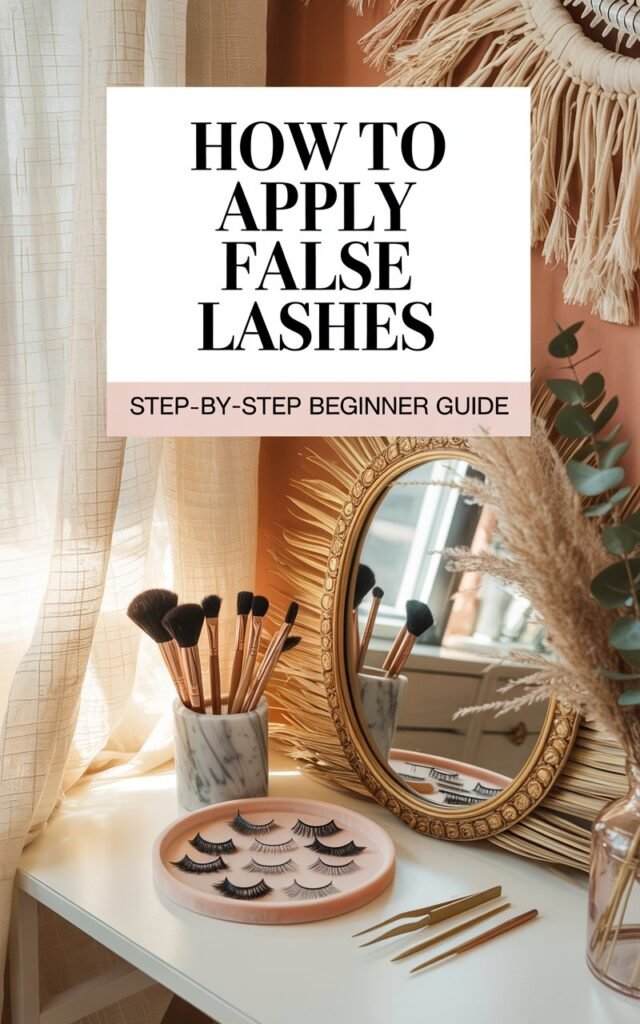
This guide on how to apply false lashes for beginners breaks everything down step by step.
I’ll walk you through how to prep your natural lashes, choose the best false lashes for your eye shape, apply lash glue correctly, and place lashes so they stay put without poking or lifting.
Whether you’re getting ready for everyday makeup, a special event, or just want your lashes to look fuller and more defined, this guide is designed to help you get it right—without frustration.
Affiliate Disclaimer: This post contains affiliate links. I may earn a small commission at no extra cost to you.
Amazon Shopping List: False Lash Application Essentials
- Natural False Eyelashes (Beginner-Friendly Style)
Lightweight lashes that look natural and are easier for beginners to apply.
BUY NOW ON AMAZON - Clear Eyelash Glue
Strong hold while drying clear for a seamless lash line.
BUY NOW ON AMAZON - Lash Applicator Tool
Helps place lashes precisely and makes application much easier for beginners.
BUY NOW ON AMAZON - Small Precision Scissors
Used to trim lashes so they fit your eye shape perfectly.
BUY NOW ON AMAZON - Eyeliner (Liquid or Pencil)
Helps blend the lash band into your natural lash line.
BUY NOW ON AMAZON
Section 1: Choosing the Right False Lashes (This Is Where Most People Go Wrong)
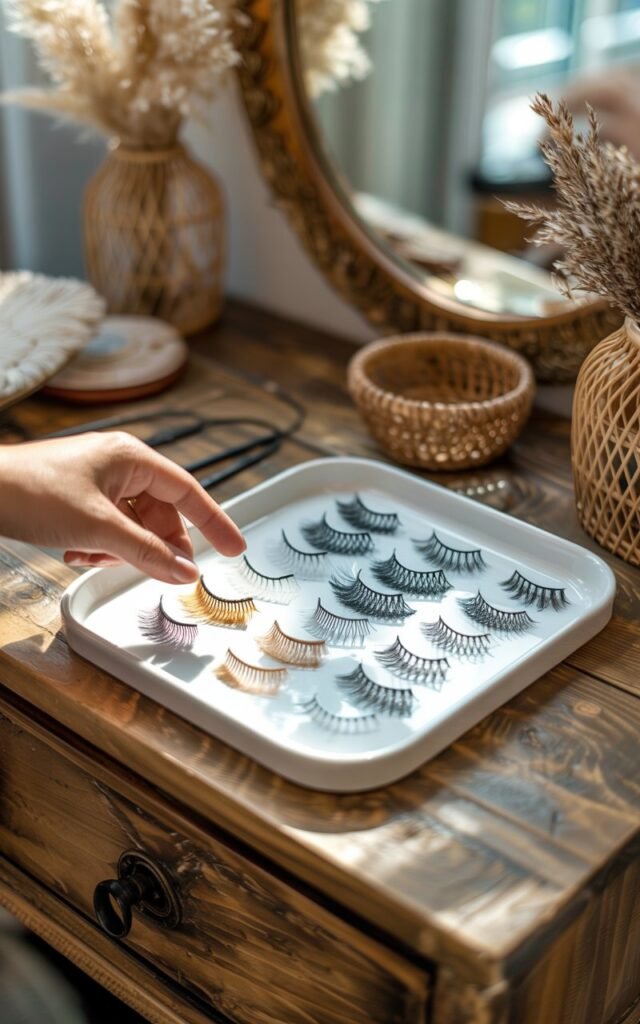
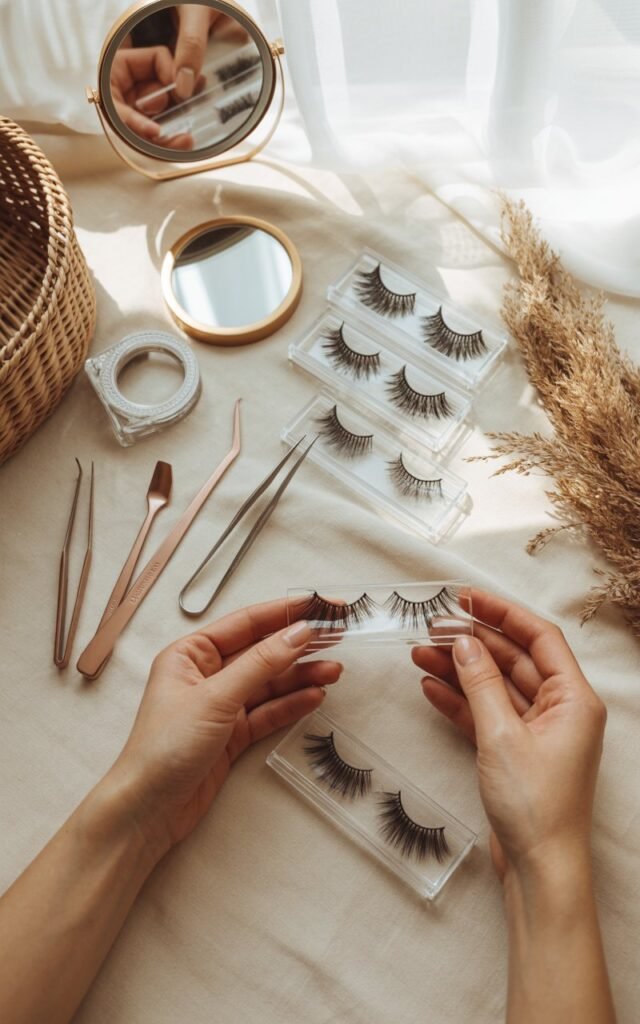
Before you even think about lash glue or application, choosing the right false lashes makes everything easier.
A lot of lash struggles—lifting corners, uncomfortable wear, unnatural results—start with the wrong lash style, not bad technique.
When I first started using false lashes, I always picked the boldest pair because I thought thicker meant better.
In reality, overly dramatic lashes can be harder to apply, heavier on the eyes, and less forgiving for beginners.
The key is choosing lashes that work with your eye shape and makeup style, not against it.
Go for Lightweight, Flexible Lash Bands
One of the most important things to look for is a thin, flexible lash band.
Thick or stiff bands are harder to bend to your eye shape and are more likely to lift at the inner or outer corners.
Flexible bands sit closer to your natural lash line and feel more comfortable throughout the day.
Search-friendly keywords that matter here include:
- best false lashes for beginners
- lightweight false lashes
- flexible lash band lashes
Choose a Style That Matches Your Eye Shape
Not all lashes suit every eye shape. Picking the right style can make your eyes look more open and lifted instead of heavy or droopy.
- Almond eyes: Most lash styles work well, but wispy or cat-eye lashes enhance the natural shape beautifully.
- Round eyes: Lashes that are longer toward the outer corner help elongate the eyes.
- Hooded eyes: Lightweight, fluttery lashes with staggered lengths prevent the lid from looking heavy.
- Small or monolid eyes: Shorter lashes with a natural curl look more flattering and easier to control.
Using lashes designed for your eye shape reduces the need for constant adjustments during application.
Start With Natural or Wispy Lashes
If you’re learning how to apply false lashes, natural-looking or wispy lashes are the best place to start.
They blend better with your natural lashes and don’t show mistakes as easily as thick, dramatic styles.
High-performing keyword phrases to include naturally:
- natural false lashes
- wispy lashes for everyday makeup
- beginner-friendly false eyelashes
Avoid Lashes That Are Too Long or Too Dense
Lashes that are too long can poke your eyelids, feel uncomfortable, and make application stressful.
Dense lashes also require stronger glue and more precision.
Starting simple helps you build confidence and technique before moving on to bolder styles.
Once you’ve chosen the right lashes, everything else—glue timing, placement, and comfort—becomes much easier.
Section 2: How to Prep Your Natural Lashes for Flawless False Lash Application
Prepping your natural lashes is one of the most overlooked steps when learning how to apply false lashes, but it makes a massive difference in how natural your lashes look and how long they stay on.
Skipping prep often leads to lashes sliding, lifting, or feeling uncomfortable halfway through the day.
I used to rush straight to glue, thinking prep was optional.
Once I started taking an extra minute to prepare my lashes properly, my false lashes applied faster, looked cleaner, and stayed put much longer.
Start With Clean, Oil-Free Eyes
The first step is making sure your eyelids and natural lashes are completely clean.
Any leftover makeup, oil, or skincare residue can stop lash glue from sticking properly.
Use a gentle cleanser or micellar water to clean your eye area, then let it dry fully.
Avoid applying heavy eye creams or oils before lash application, as these can cause the glue to break down.
Important SEO-friendly phrases used naturally here:
- how to prep lashes for false lashes
- clean lashes before false lashes
- lash glue not sticking
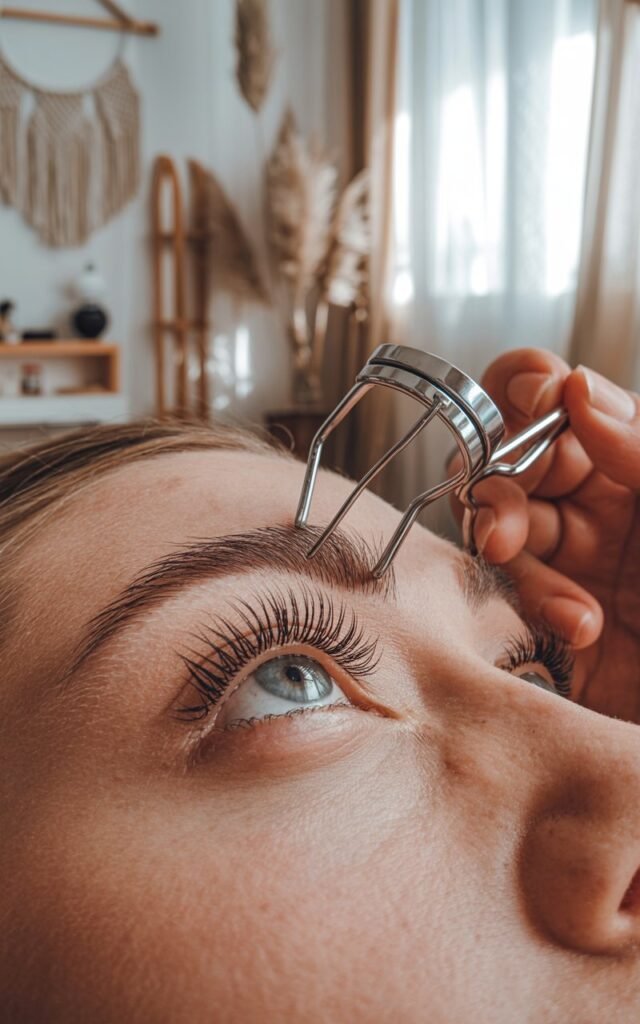
Curl Your Natural Lashes First
Curling your natural lashes helps them blend seamlessly with false lashes.
When your natural lashes are curled upward, the false lashes sit closer to your lash line instead of floating above it.
Use a lash curler and gently press at the base of your lashes.
This step also helps open up the eyes and gives a more lifted look once the false lashes are applied.
Apply a Light Coat of Mascara
A thin layer of mascara adds grip and helps your natural lashes bond with the false lashes.
This makes blending easier and prevents your real lashes from poking out underneath.
Key tip: let the mascara dry completely before applying false lashes.
Wet mascara can make lashes slip and feel messy during application.
Search-relevant phrases:
- apply mascara before false lashes
- blending natural lashes with false lashes
Optional: Tightline Your Lash Line
Applying a thin line of eyeliner close to your lash line can help hide the lash band and create a seamless finish.
This is especially helpful if you’re still learning precise placement.
Use a pencil or gel liner and keep the line subtle—this isn’t about dramatic eyeliner, just soft definition.
When your lashes are clean, curled, lightly coated with mascara, and your lash line is prepped, false lashes become much easier to apply and far more comfortable to wear.
Section 3: How to Trim False Lashes to Fit Your Eye Shape (Do Not Skip This)
One of the biggest mistakes beginners make when learning how to apply false lashes is skipping trimming altogether.
Most false lashes are made longer than the average eye on purpose.
If you apply them straight out of the box, they’re more likely to poke the inner corner, lift at the ends, or look obviously fake.
Once I started trimming my lashes properly, everything—from comfort to how natural they looked—improved instantly.
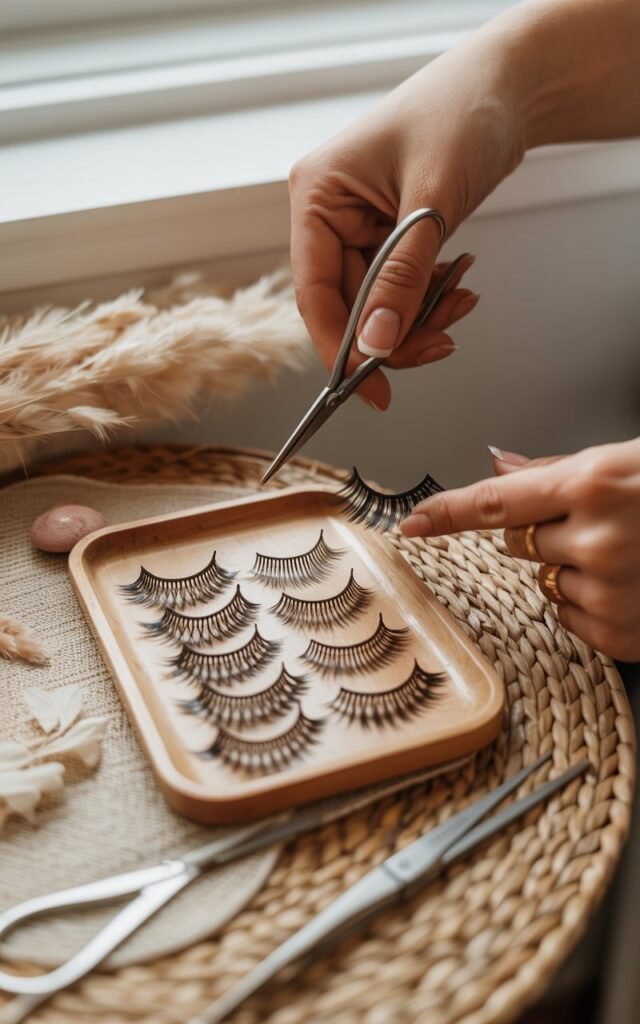
Always Measure Before Cutting
Before adding any glue, gently place the false lash strip on your eye (without sticking it down).
Align it with your lash line and check where it extends past your natural lash length—usually near the outer corner.
This step helps you see exactly how much length needs to come off and prevents over-cutting.
Helpful keyword phrases used naturally:
- how to trim false lashes
- trimming false lashes for beginners
- false lashes too long
Trim From the Outer Corner, Not the Inner
Always cut lashes from the outer edge, never the inner corner.
The inner corner lashes are shorter and more delicate by design, so cutting there can make lashes look blunt and unnatural.
Trim a small amount at a time—one or two lash clusters—then re-measure.
You can always cut more, but you can’t put length back.
Match the Curve of Your Eye
After trimming, gently bend the lash band into a soft curve using your fingers.
This helps the lash band mold to your eye shape and prevents stiff edges that lift later.
A curved lash band sits closer to your natural lash line and feels more comfortable throughout the day.
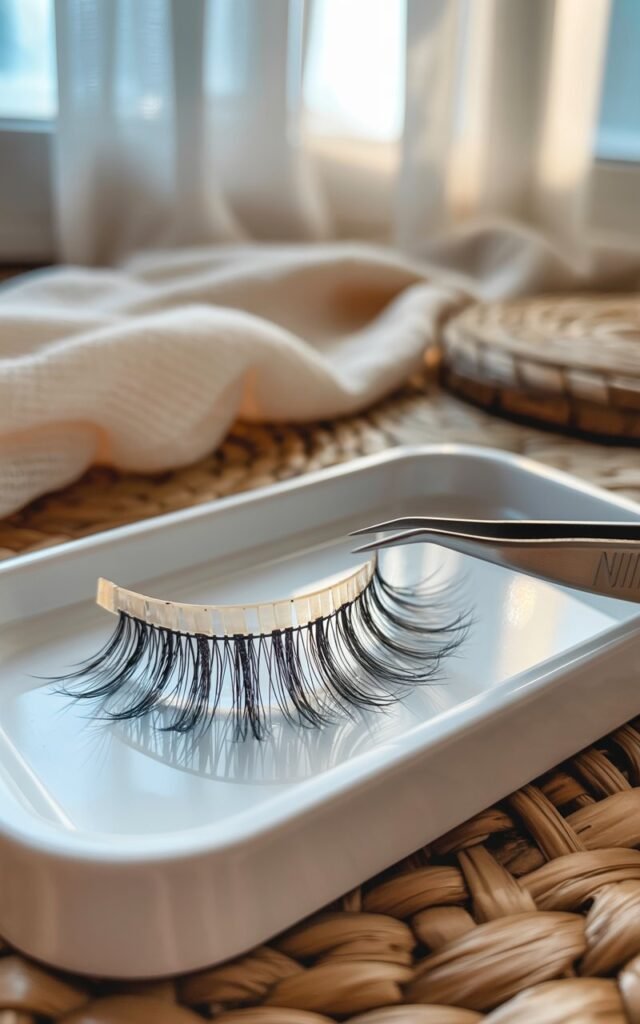
Save Trimmed Lashes for Reuse
Once trimmed, that lash pair is now customized for your eye shape.
Keep them in their original case so next time you won’t need to trim again.
This saves time and ensures consistent application.
Search-friendly phrases included:
- trimming lashes for eye shape
- reusable false lashes
- natural-looking false lashes
Proper trimming is what makes false lashes look like they belong on your face instead of sitting on top of it.
When lashes fit your eye perfectly, application becomes easier and the final result looks much more polished.
Section 4: How to Apply Lash Glue the Right Way (Timing Matters More Than You Think)
If there’s one step that can make or break your false lash application, it’s the glue.
Too much glue, too little, or applying it at the wrong time can lead to lashes lifting, sliding, or feeling sticky all day.
I used to rush this part, and my lashes would peel off by lunch.
Once I mastered glue timing and placement, it became effortless.
Choose the Right Lash Adhesive
Not all lash glues are created equal.
For beginners, I recommend a clear-drying, latex-free adhesive.
Clear glue is forgiving if you make a small mistake, and latex-free options reduce irritation for sensitive eyes.
Some glues even have a slight hold-boost formula to keep lashes in place for hours without flaking.
Keywords naturally included:
- best lash glue for beginners
- clear lash adhesive
- latex-free false lash glue
Apply a Thin, Even Layer
Take a small amount of glue along the lash band, focusing on the center first.
Then gently dab a tiny bit on the inner and outer corners.
Avoid flooding the band—too much glue creates lumps, messy application, and a long drying time.
A small trick: use a toothpick or the tip of the glue tube for precise application, especially near the corners.
Wait 20–30 Seconds Before Applying
This is a game-changer.
Waiting for the glue to become tacky instead of wet helps lashes stick instantly when you place them, instead of sliding around.
I always set a timer in my head: apply glue, count to 20 slowly, then go in.
The lashes will hold immediately and feel secure.
Keyword phrases:
- lash glue tips for beginners
- false lashes sliding
- how to make false lashes stay
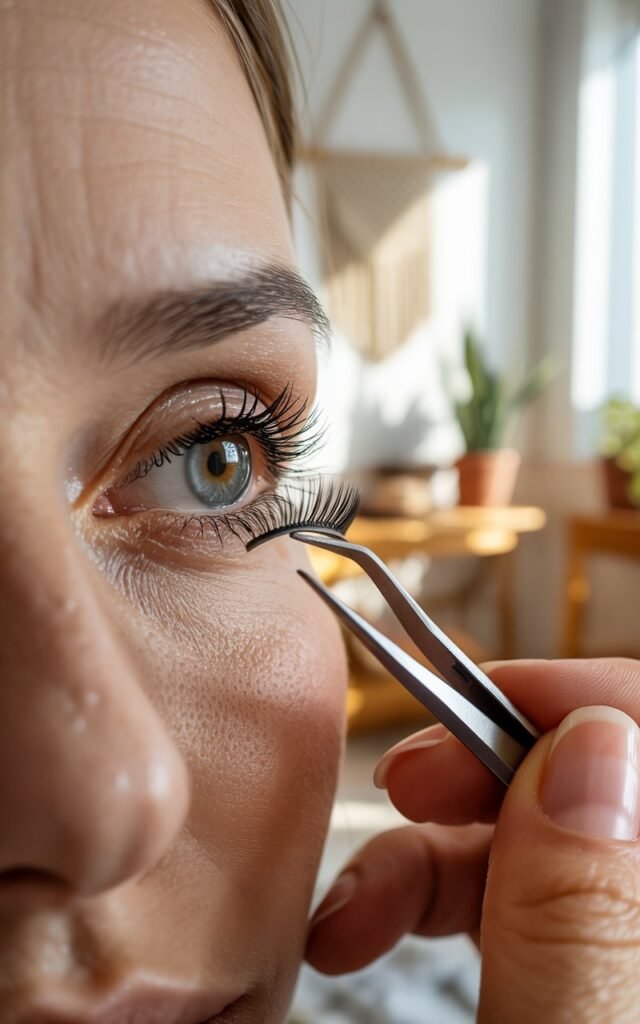
Avoid Touching the Glue With Fingers
Using tweezers or a lash applicator to place the lash is much more precise than your fingers.
Your fingers can smudge the glue or misplace the lash.
Tweezers also allow you to adjust the inner and outer corners separately, which is critical for a natural fit.
Test the Placement Before Pressing Down
Hover the lash over your lash line and check alignment, then press gently along the band from the center outward.
Focus especially on inner and outer corners, as these are prone to lifting.
Pressing firmly but gently ensures they stick without bending or folding the band.
Once you master glue timing and careful placement, applying lashes becomes fast, easy, and stress-free.
Section 5: How to Place False Lashes Perfectly on Your Lash Line
Even with the right lashes, proper prep, trimming, and glue, placement is what makes them look natural.
Early on, I would just slap lashes on and hope for the best—but misaligned lashes can ruin the entire look.
Once I learned a few placement techniques, my lashes started looking professional every time.
Start at the Center
Place the lash in the middle of your lash line first.
This gives you a natural anchor point and makes it easier to adjust the inner and outer corners.
I like to use tweezers or a lash applicator for this—your fingers can be clumsy and messy.
Keywords naturally included:
- false lash placement tips
- how to align false lashes
- beginner lash placement
Adjust the Inner Corner
After centering, carefully lower the inner corner onto your lash line.
Make sure it sits as close to your natural lashes as possible without poking the eyelid.
A slight inward tilt can help the lash follow your eye’s natural curve.
Secure the Outer Corner
The outer corner is the most common area for lashes to lift.
Press gently along the band to secure it fully.
If needed, use the tip of a tweezer to hold the corner down for a few seconds until the glue sets.
Press and Blend
Once the lashes are in place, press gently along the entire lash band to make sure it sticks evenly.
If your natural lashes are lightly coated with mascara, they’ll blend perfectly with the false lashes.
Check for Symmetry
Look straight into the mirror to ensure both eyes match.
Adjust slightly if necessary before the glue fully dries.
Symmetry is subtle but makes a huge difference in how polished your look appears.
When lashes are properly placed, they feel comfortable, stay in position, and look like they’re part of your natural lashes—not an obvious add-on.
Section 6: How to Blend False Lashes With Your Natural Lashes
Even perfectly applied lashes can look unnatural if they don’t blend with your real lashes.
Early on, I struggled with that “floating lash” look, where the false strip was obvious and my natural lashes didn’t connect.
Once I learned a few simple blending techniques, my lashes started looking soft, full, and totally seamless.
Use a Light Mascara (Optional)
After the glue has dried completely, lightly coat your natural lashes with mascara.
This helps merge your lashes with the false ones, making them appear fuller and more natural.
Use a small wand and short strokes to avoid clumping.
Keywords naturally included:
- how to blend false lashes
- false lashes look natural
- natural lash blending tips
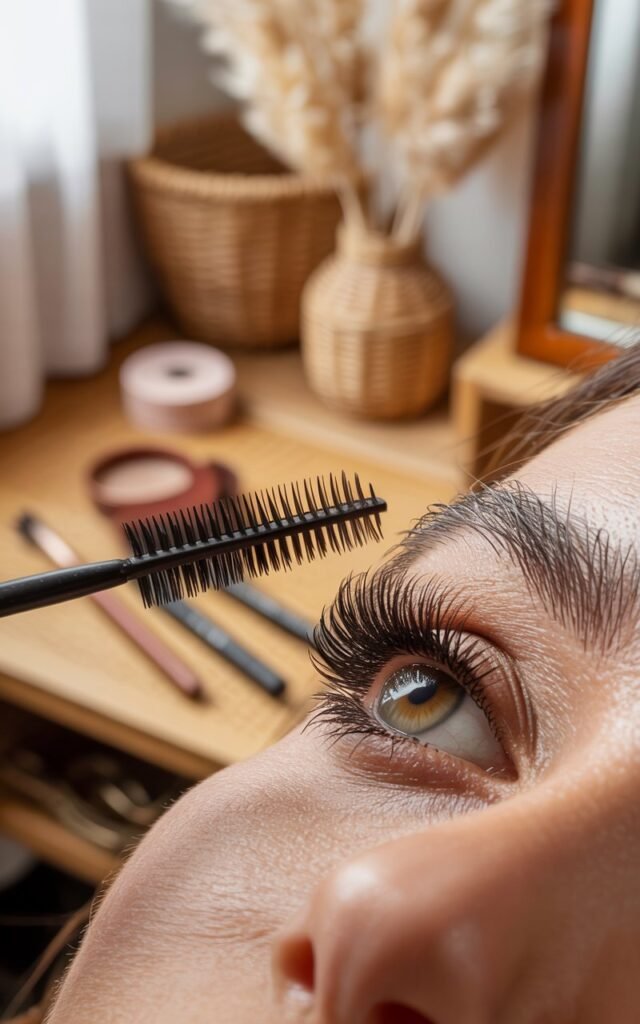
Comb Through Lashes With a Lash Wand
Take a clean lash comb or spoolie and gently brush through your lashes.
This separates any clumps, blends natural and false lashes, and gives them a soft, wispy finish.
I always do this as the last step before eyeliner or touch-ups—it makes the biggest difference in natural-looking lashes.
Tightline for a Seamless Finish
If you didn’t tightline before, now’s a good time. Gently apply a thin line of eyeliner right along your lash line.
This hides the lash band and fills in any tiny gaps between your natural lashes and the false ones.
I prefer a gel or pencil liner for this because it’s easy to control and smudge-proof.
Curl Again (Optional)
If you want extra lift, lightly curl the lashes after blending.
This makes them curl with your natural lashes and ensures they move naturally with your eyes.
Just be gentle to avoid bending the false lashes out of shape.
When you follow these steps, false lashes don’t look glued on—they look like they’re growing right from your lash line.
They feel comfortable, stay in place, and instantly enhance your eyes.
Section 7: How to Remove and Care for Your False Lashes
Removing false lashes carefully is just as important as applying them.
Early on, I would peel lashes off quickly at the end of the day, and it always ended in sticky mess, broken lashes, or even a few lost natural lashes.
Learning proper removal and care not only preserves your false lashes for multiple uses but also protects your natural lashes.
Remove Gently With Makeup Remover
Start by loosening the glue with a gentle oil-free makeup remover or micellar water.
Soak a cotton pad and hold it against your lash line for a few seconds to soften the adhesive.
Avoid tugging or pulling on the lashes while the glue is still dry—this can damage both the false and natural lashes.
Keywords naturally included:
- how to remove false lashes safely
- caring for false eyelashes
- reusable false lashes tips
Peel Lashes Off Slowly
After the glue softens, gently lift the outer corner first and slowly peel the lash toward the inner corner.
Doing this gradually prevents your natural lashes from being pulled out and keeps the false lashes intact.
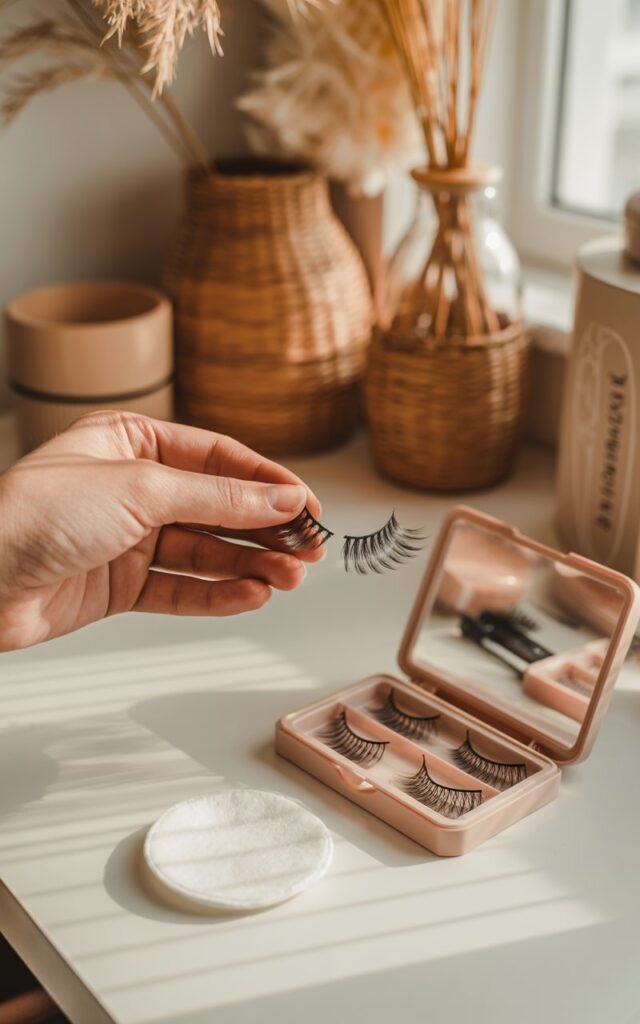
Clean and Store Your Lashes
Once removed, clean your lashes by gently removing any leftover glue with tweezers or your fingers.
Avoid washing them with water—this can ruin the lash shape.
Then, store them in their original case to maintain their curve and protect them from dust.
Well-cared-for lashes can last 3–5 uses or more, depending on quality.
Keep Your Natural Lashes Healthy
After removing false lashes,
I always like to give my natural lashes a quick nourishing treatment, like a lash serum or natural oil (coconut or castor oil).
This keeps lashes strong and helps prevent breakage over time.
Taking these steps ensures your lashes stay looking flawless longer, your natural lashes remain healthy, and your false lash experience is stress-free every time.
Section 8: Tips and Tricks for Beginner-Friendly False Lash Application
Even after learning all the steps, there are little tricks that make applying false lashes faster, easier, and more comfortable.
When I started using these tips, I noticed my lashes looked better and I spent less time struggling in front of the mirror.
Use Tweezers or a Lash Applicator
Tweezers or a dedicated lash applicator give you more control than your fingers, especially for the inner and outer corners.
This makes placement precise and reduces the chance of glue smudges.
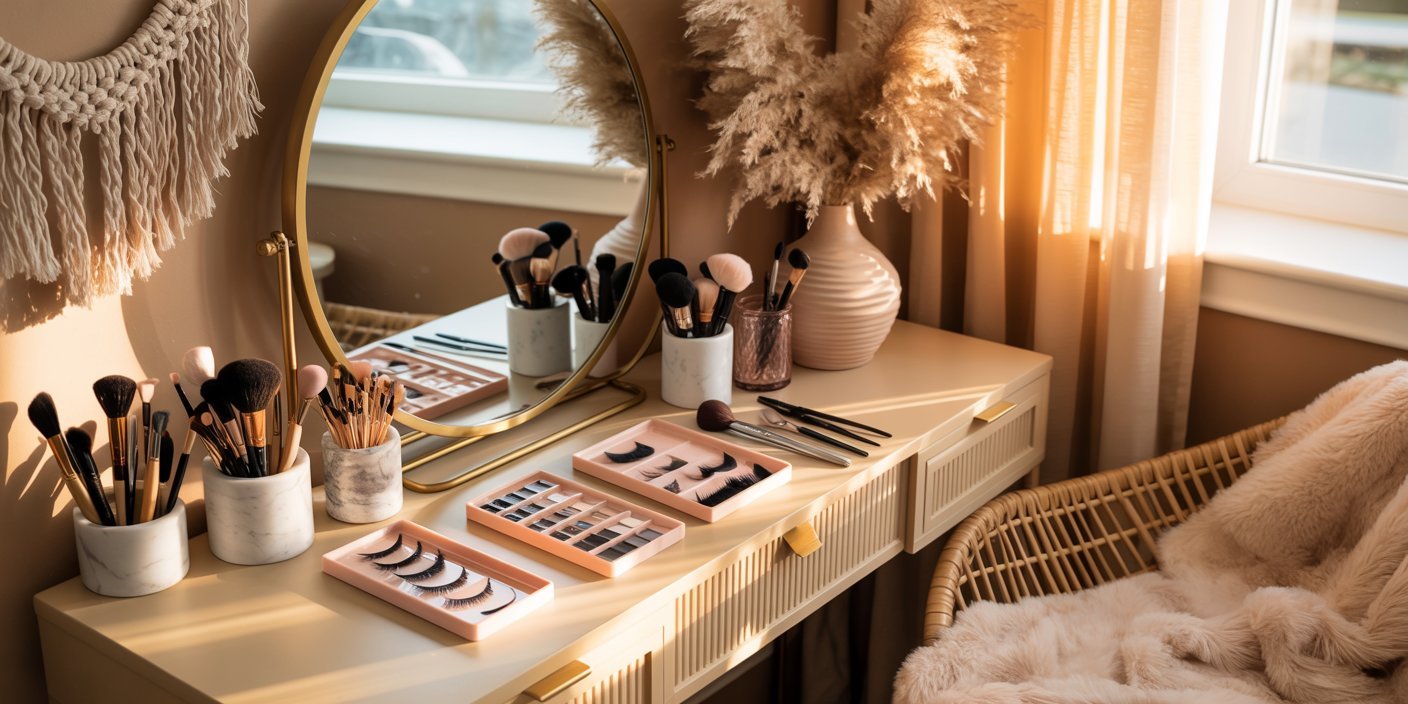
Work in a Well-Lit Area
Good lighting is essential. I like to apply my lashes near a window or under a bright makeup lamp.
Natural light helps you see exactly where the lash sits on your lash line, so placement is accurate and even.
Let the Glue Get Tacky
After applying glue to the lash band, wait about 20–30 seconds before putting it on.
This tacky stage helps lashes stick immediately without sliding around, and it prevents glue from getting everywhere.
Trim Only When Needed
Always measure the lash on your eye before trimming.
Cutting too much can ruin the lash shape, but trimming just enough from the outer corner ensures a perfect fit and comfort.
Start With One Eye at a Time
Applying lashes to both eyes simultaneously can be overwhelming for beginners.
Focus on one eye, master the placement, then move to the other.
This approach builds confidence and reduces mistakes.
Practice Makes Perfect
Even if your first few attempts aren’t perfect, keep practicing.
Over time, you’ll notice your speed, accuracy, and confidence improving.
I still practice occasionally with new lash styles to get the best results.
Store and Reuse Lashes
After wearing them, clean your lashes gently to remove glue and store them in their original case.
Reusing them preserves their shape and saves money, while still keeping them looking fresh.
With these tips, applying false lashes becomes less intimidating, faster, and much more enjoyable.
Once you get the hang of it, they can transform your makeup look effortlessly.
Conclusion: Mastering False Lashes Has Never Been Easier
Applying false lashes might feel intimidating at first, but with the right steps and a little patience, it becomes a simple, confidence-boosting part of your makeup routine.
From choosing the right lashes and prepping your natural lashes, to trimming, applying glue, placing them perfectly, and blending seamlessly, each step builds toward a professional, natural look.
The key is to take your time, practice consistently, and incorporate small tips and tricks that make application easier and more comfortable.
With a few tries, you’ll be able to apply lashes quickly, enjoy the stunning effect, and even reuse them multiple times.
False lashes can transform your eyes, enhance your overall makeup, and give you that polished, glamorous finish—even if you’re a beginner.
Remember, it’s not about perfection—it’s about finding a method that works for you and your eyes.
Once you master these steps, your false lash game will feel effortless and fun.