Soap making is one of the most rewarding DIY hobbies you can learn.
Not only does homemade soap allow you to control the ingredients that touch your skin, but it also gives you the freedom to create beautiful, natural, and personalized bars right from your kitchen.
Whether you want to save money, avoid harsh chemicals, start a small business, or simply enjoy a creative hobby, learning how to make soap for beginners is the perfect place to start.

Many people think soap making is difficult or dangerous, but beginners can absolutely learn the process safely and successfully with the right guidance.
Once you understand the basics, soap making becomes fun, relaxing, and surprisingly addictive.
In this complete beginner-friendly guide, you’ll learn everything you need to know about homemade soap making, including essential supplies, ingredients, safety tips, easy soap recipes, common mistakes, and creative ideas to customize your soaps.
Why Make Your Own Soap?
Homemade soap has become increasingly popular because people want healthier and more natural skincare products.
Store-bought soaps often contain artificial fragrances, preservatives, and harsh detergents that can dry out the skin.
When you make your own soap, you get complete control over:
- Ingredients
- Fragrance
- Oils and butters
- Colors
- Skin benefits
- Shapes and designs
Benefits of Homemade Soap:
- Gentle on sensitive skin
- Free from harsh chemicals
- More moisturizing
- Eco-friendly
- Cost-effective over time
- Great for gifts
- Fun creative hobby
- Potential small business opportunity
Understanding the Different Types of Soap Making
Before you begin, it’s important to understand the main methods of soap making.
1. Melt and Pour Soap Making
This is the easiest method for beginners.
You melt a pre-made soap base, add fragrances and colors, then pour it into molds.
Pros:
- Beginner-friendly
- No handling lye
- Fast and easy
- Great for kids
- Endless customization
Cons:
- Less control over ingredients
- Not fully handmade from scratch
2. Cold Process Soap Making
This is traditional soap making from scratch using oils and lye.
Pros:
- Full ingredient control
- Natural soap
- Professional-quality bars
- Endless creativity
Cons:
- Requires safety precautions
- Soap needs curing time
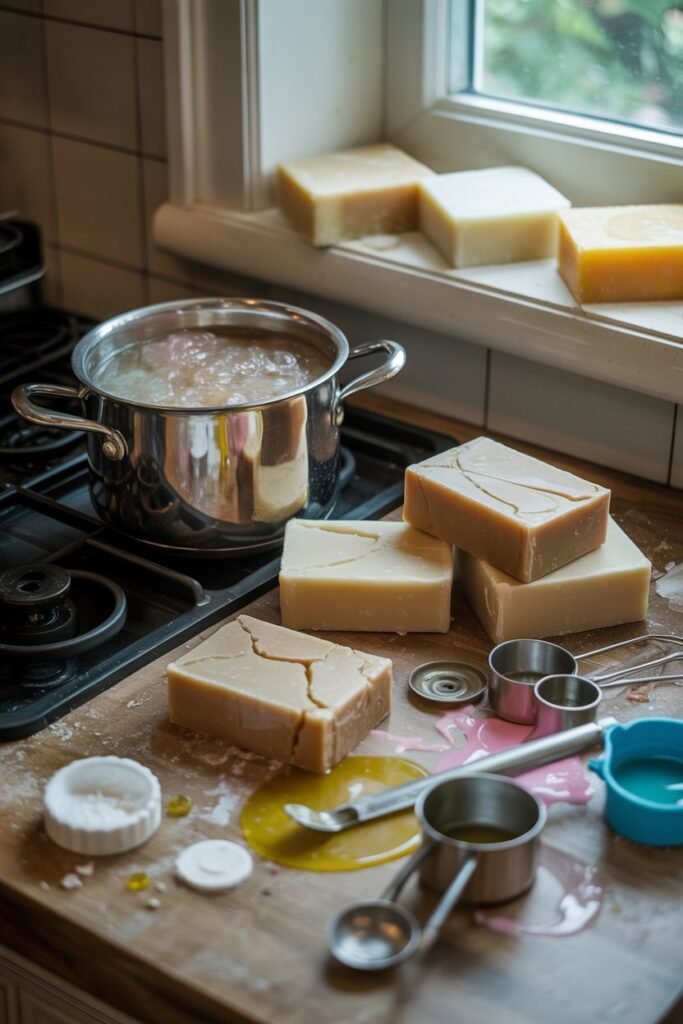
3. Hot Process Soap Making
Similar to cold process, but cooked during the process.
Pros:
- Faster curing
- Rustic appearance
- Great for natural soaps
Cons:
- More complicated
- Rougher texture
Best Soap Making Method for Beginners
If you are completely new, start with melt-and-pour soap. It helps you learn the basics of fragrance blending, coloring, and molding without dealing with lye.
Once you feel confident, you can move into cold process soap making.
Essential Soap Making Supplies for Beginners
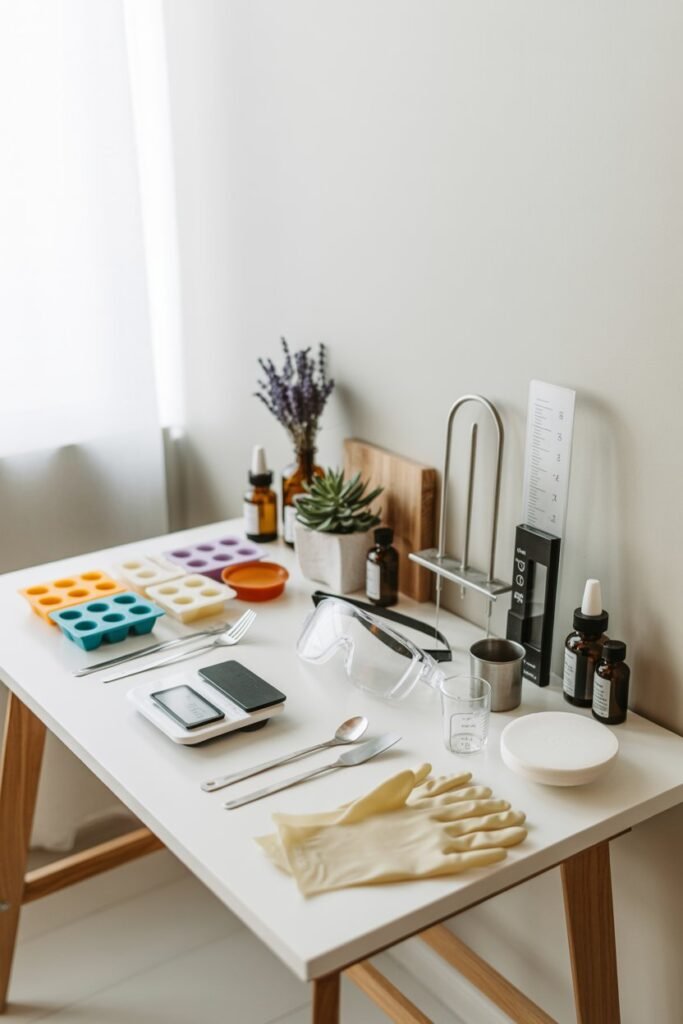
Before making soap, gather your basic tools and ingredients.
Basic Equipment
Soap Molds
Silicone molds are beginner-friendly because soap removes easily.
Popular mold options:
- Rectangle loaf molds
- Individual cavity molds
- Silicone baking molds
Digital Scale
Soap making requires accurate measurements.
Heat-Resistant Bowls
Use stainless steel or heavy plastic bowls.
Silicone Spatula
Perfect for mixing soap batter.
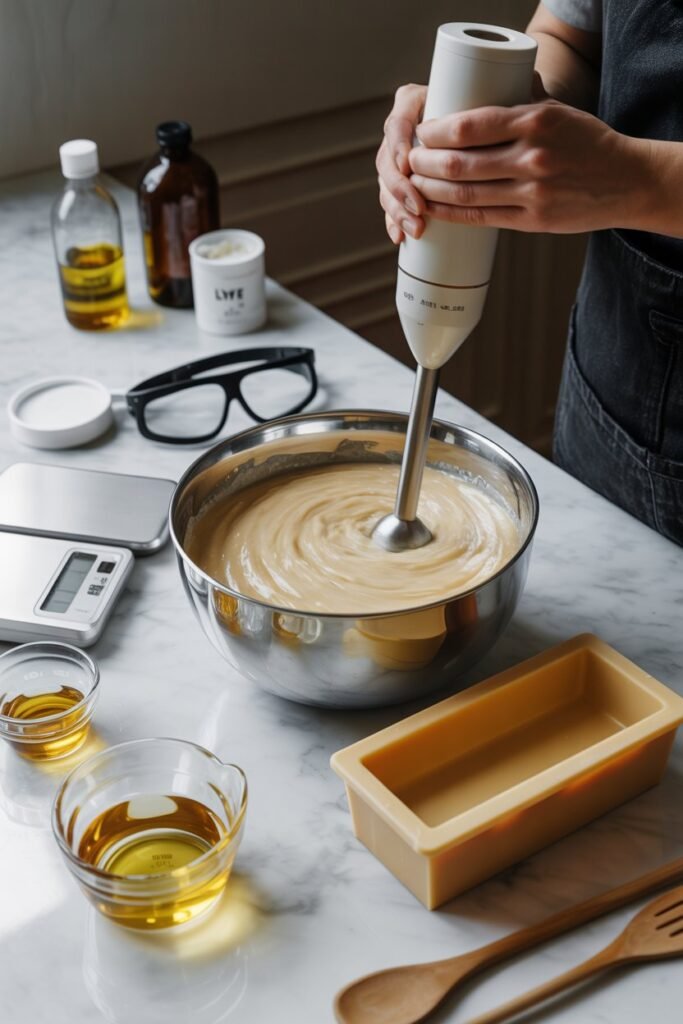
Stick Blender
Helps soap reach trace faster.
Measuring Cups
Useful for fragrance oils and additives.
Thermometer
Important for cold process soap making.
Safety Gear
Especially important when handling lye.
You need:
- Gloves
- Goggles
- Long sleeves
Soap Making Ingredients Explained
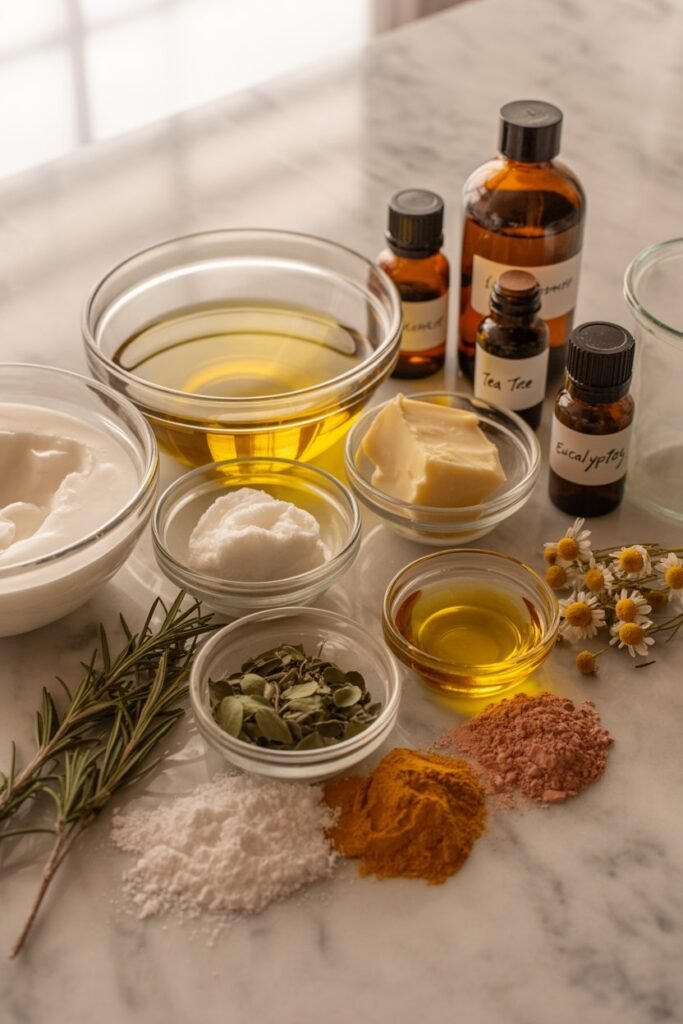
Understanding ingredients is the key to successful soap making.
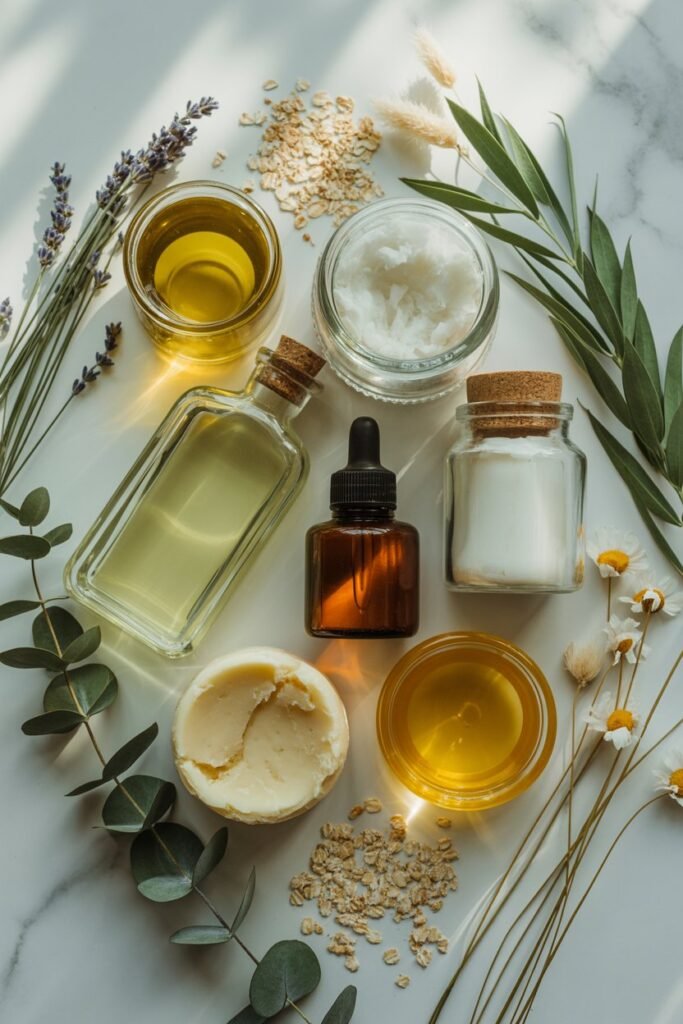
Soap Base Oils
Different oils provide different benefits.
Olive Oil
- Gentle
- Moisturizing
- Great for sensitive skin
Coconut Oil
- Creates rich lather
- Excellent cleansing power
Shea Butter
- Creamy texture
- Deep moisture
Palm Oil
- Hardens soap bars
- Stabilizes lather
Castor Oil
- Boosts bubbles
- Adds conditioning properties
What Is Lye and Why Is It Necessary?

Lye, also called sodium hydroxide, is required for real soap making.
When lye combines with oils, a chemical reaction called saponification occurs. This transforms the mixture into soap.
Without lye, true soap cannot be made.
Although lye sounds intimidating, it is safe when used properly with precautions.
Soap Making Safety Tips for Beginners
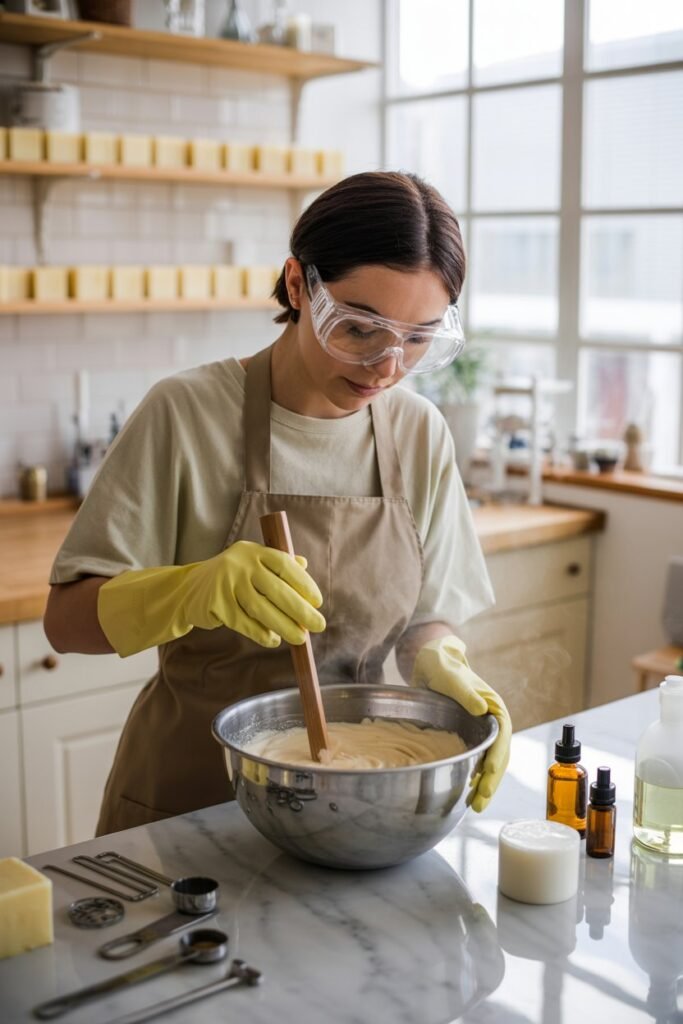
Safety is extremely important during soap making.
Always Wear Safety Gear
Protect your skin and eyes from raw lye.
Work in a Ventilated Area
Lye fumes can be irritating.
Never Add Water to Lye
Always add lye to water slowly.
Keep Children and Pets Away
Avoid distractions while making soap.
Use Accurate Measurements
Soap recipes must be precise.
Easy Melt and Pour Soap Recipe for Beginners
This simple recipe is perfect for first-time soap makers.
Ingredients
- 1 pound melt-and-pour soap base
- 1 teaspoon fragrance oil
- Soap colorant
- Dried flowers (optional)
Instructions
Step 1: Cut the Soap Base
Cut into small cubes for easier melting.
Step 2: Melt the Soap
Use a microwave or double boiler.
Step 3: Add Fragrance and Color
Mix gently to avoid bubbles.
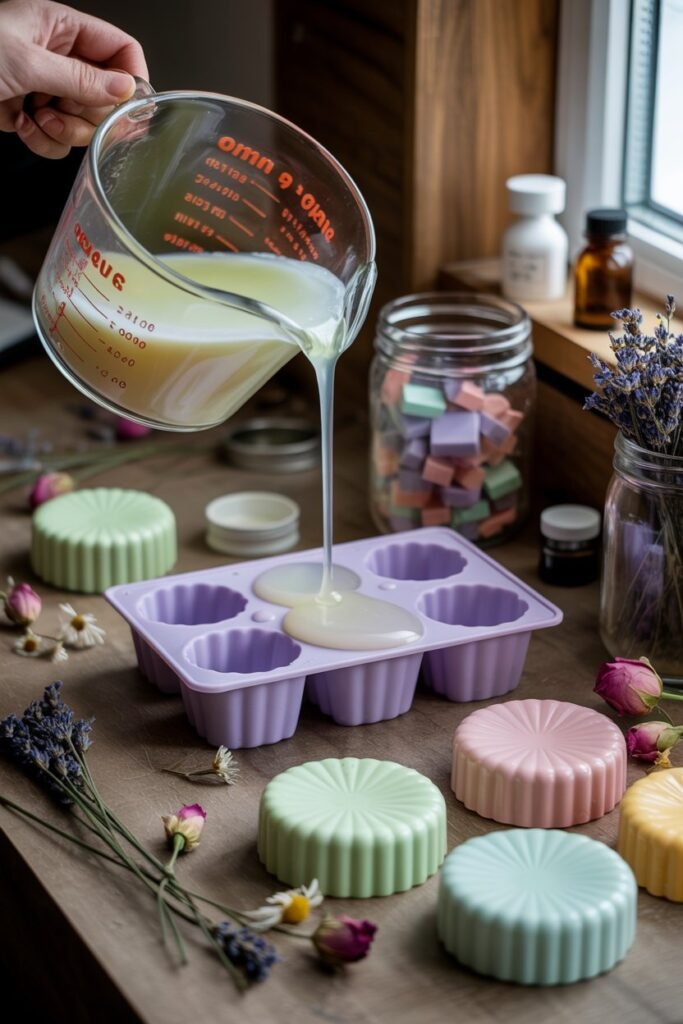
Step 4: Pour Into Molds
Add decorative toppings if desired.
Step 5: Let Soap Harden
Allow several hours to fully set.
Step 6: Remove from Mold
Your soap is ready to use immediately.
Beginner Cold Process Soap Recipe
Once you feel comfortable, try this basic cold process recipe.
Ingredients
- 16 oz olive oil
- 8 oz coconut oil
- 8 oz palm oil
- 4.5 oz lye
- 10 oz distilled water
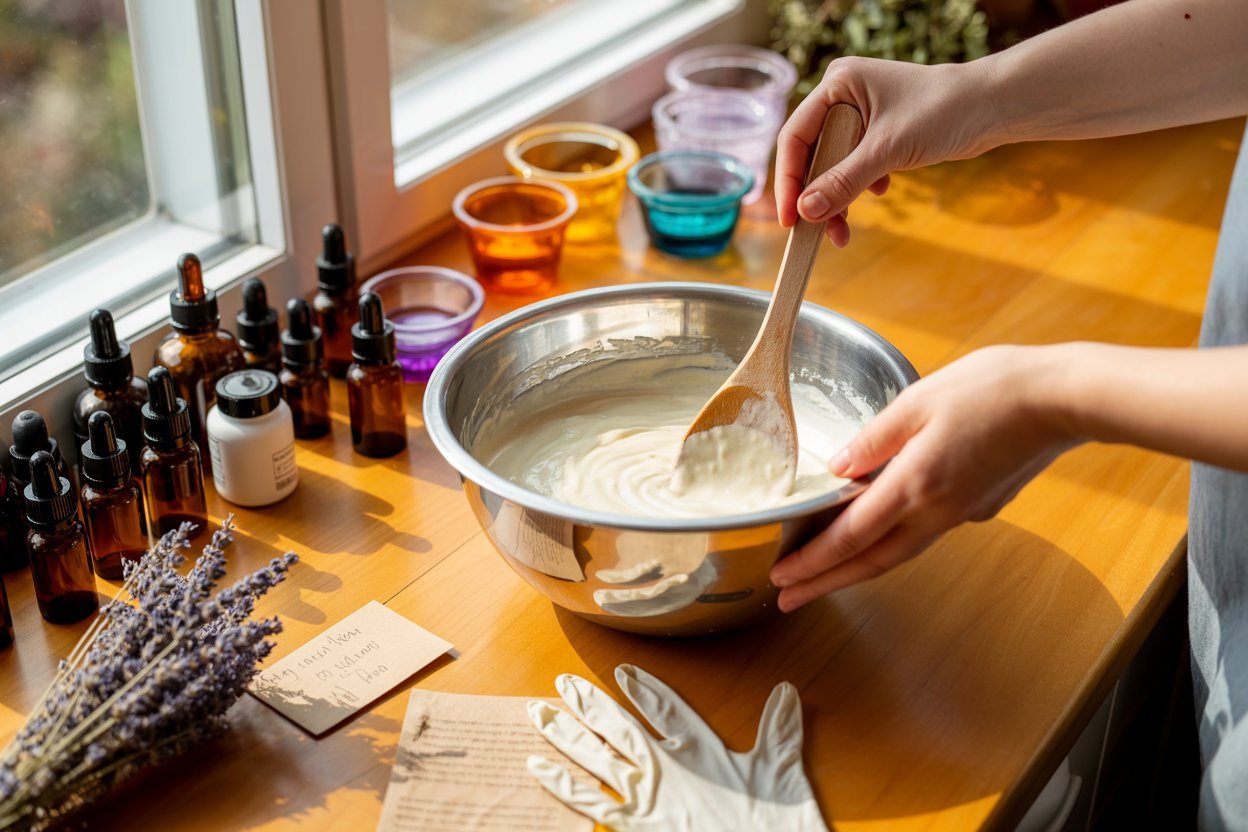
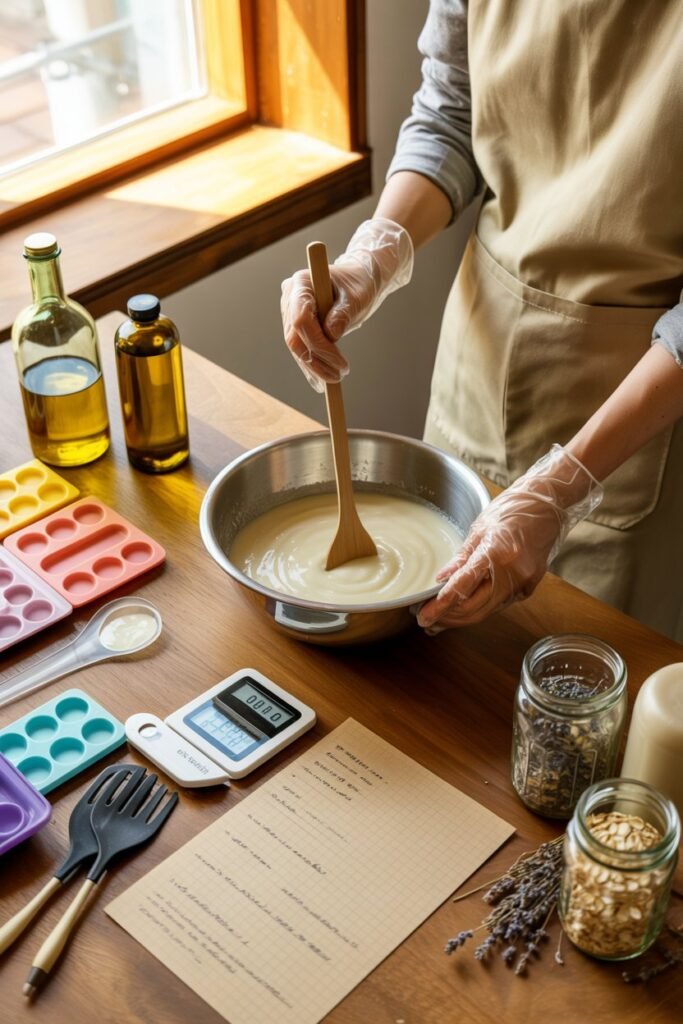
Instructions
Step 1: Prepare Your Workspace
Wear gloves and goggles.
Step 2: Mix Lye Water
Slowly add lye into water.
Step 3: Melt Oils
Combine oils and cool slightly.
Step 4: Combine Oils and Lye
Use a stick blender.
Step 5: Reach Trace
The mixture thickens slightly.
Step 6: Add Fragrance
Mix thoroughly.
Step 7: Pour Into Mold
Tap mold gently to release air bubbles.
Step 8: Insulate Soap
Wrap with towels overnight.
Step 9: Cut Soap Bars
After 24–48 hours.
Step 10: Cure Soap
Allow bars to cure for 4–6 weeks.
Understanding Soap Trace
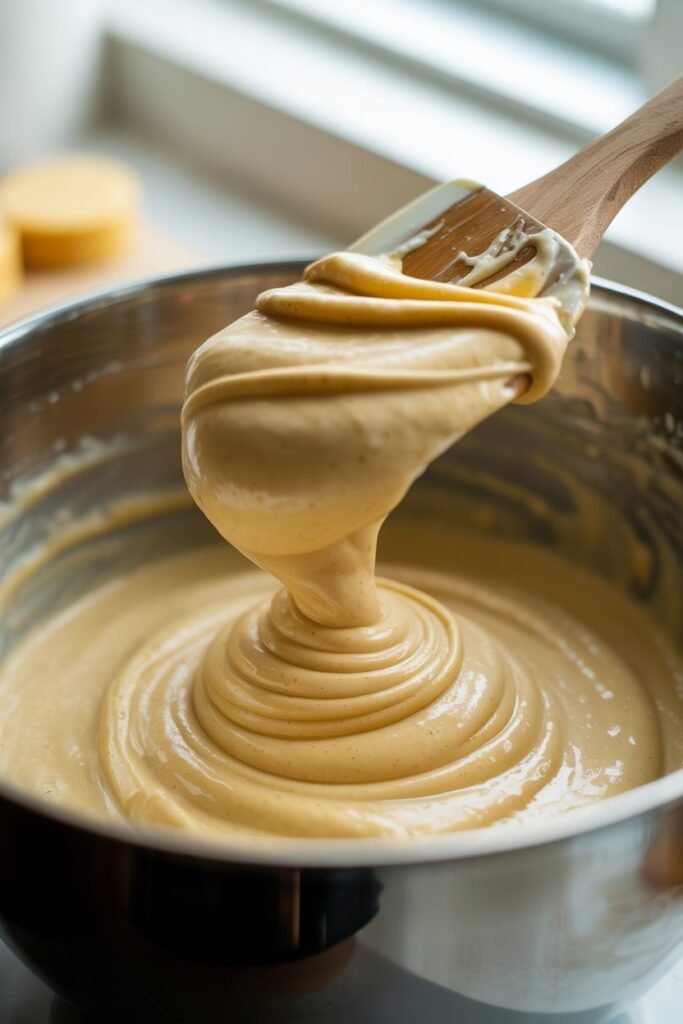
Trace is when soap batter thickens enough to leave visible trails.
There are different trace levels:
- Light trace
- Medium trace
- Thick trace
Beginners should aim for light to medium trace.
Best Fragrances for Homemade Soap
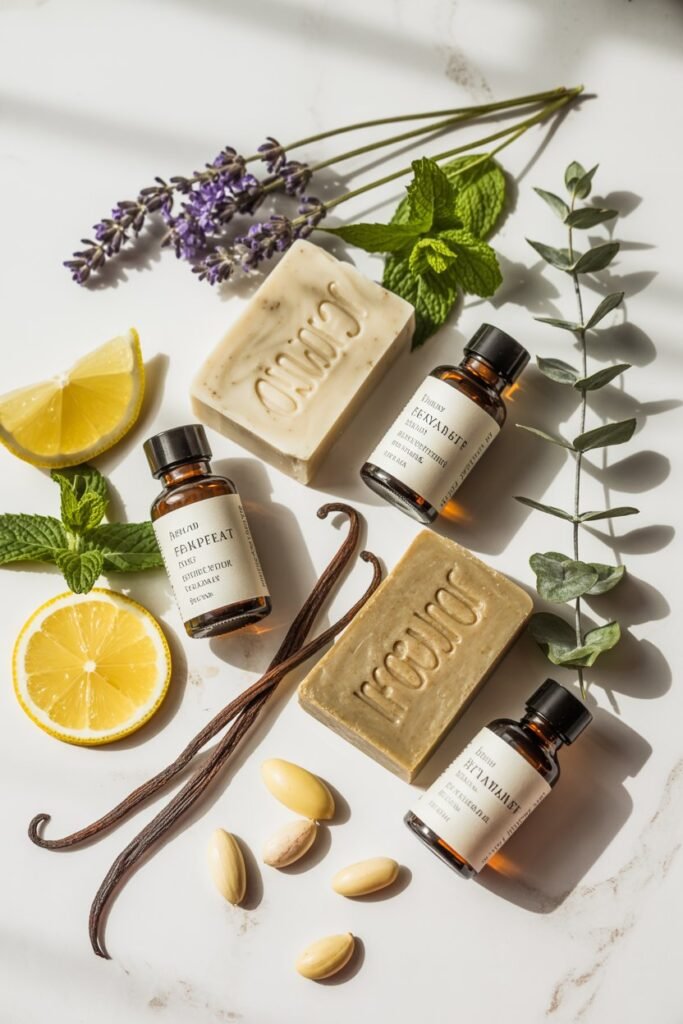
Choosing the right fragrance improves the soap experience.
Popular soap scents:
- Lavender
- Vanilla
- Peppermint
- Lemon
- Rose
- Eucalyptus
- Coconut
- Honey almond
Essential oils are popular for natural soap making.
Natural Soap Coloring Ideas
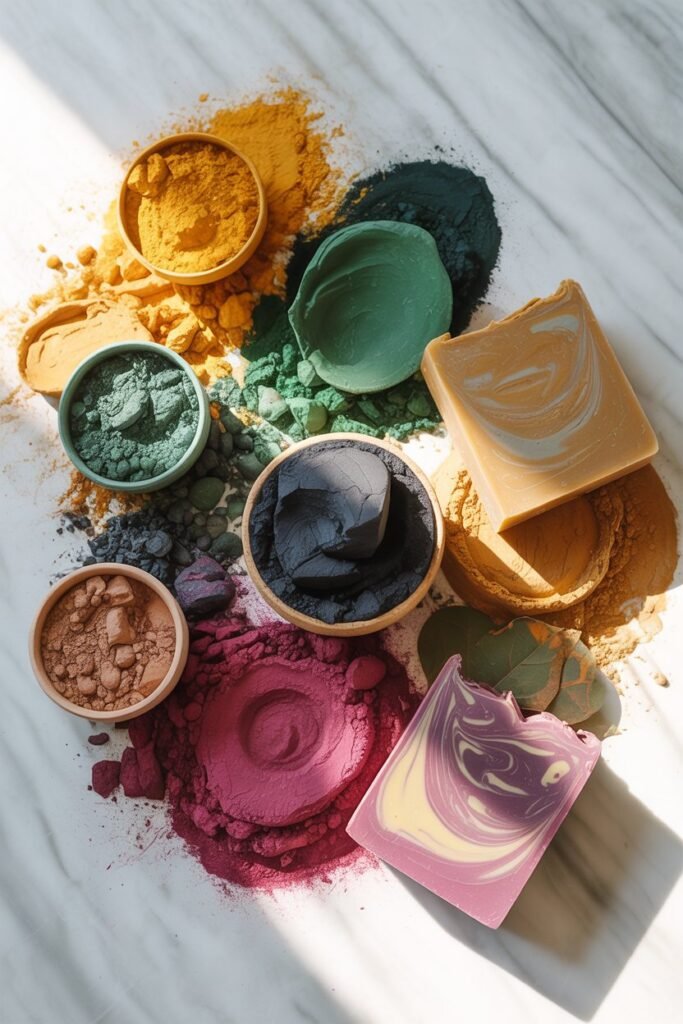
You don’t need artificial dyes to make beautiful soap.
Natural colorants include:
- Turmeric (yellow)
- Activated charcoal (black)
- Spirulina (green)
- Beetroot powder (pink)
- Cocoa powder (brown)
- Clay powders
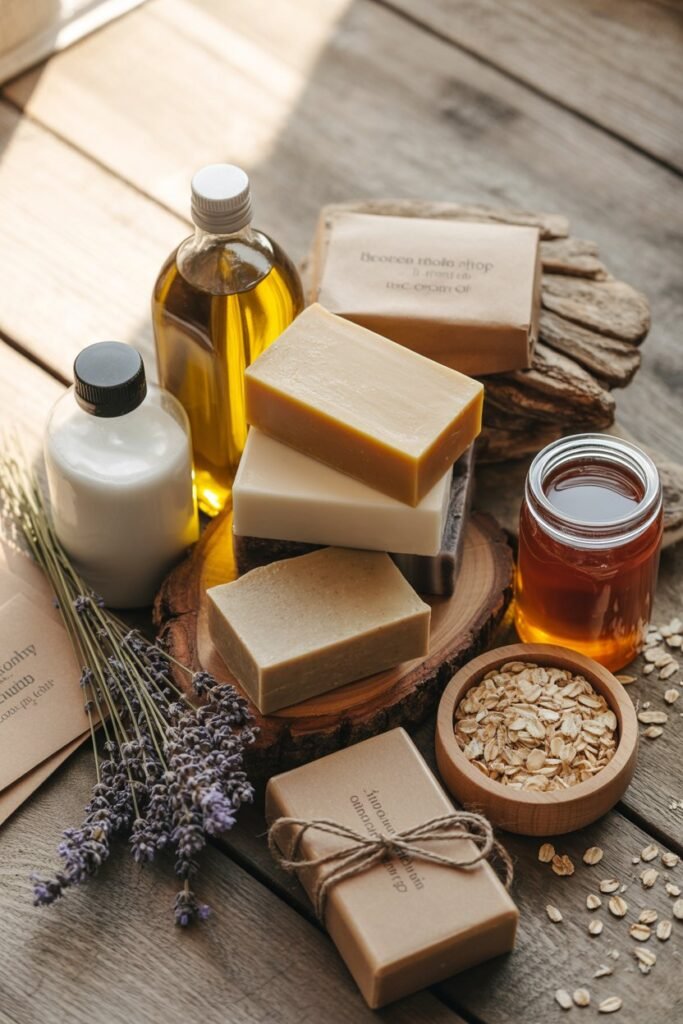
Creative Add-Ins for Soap
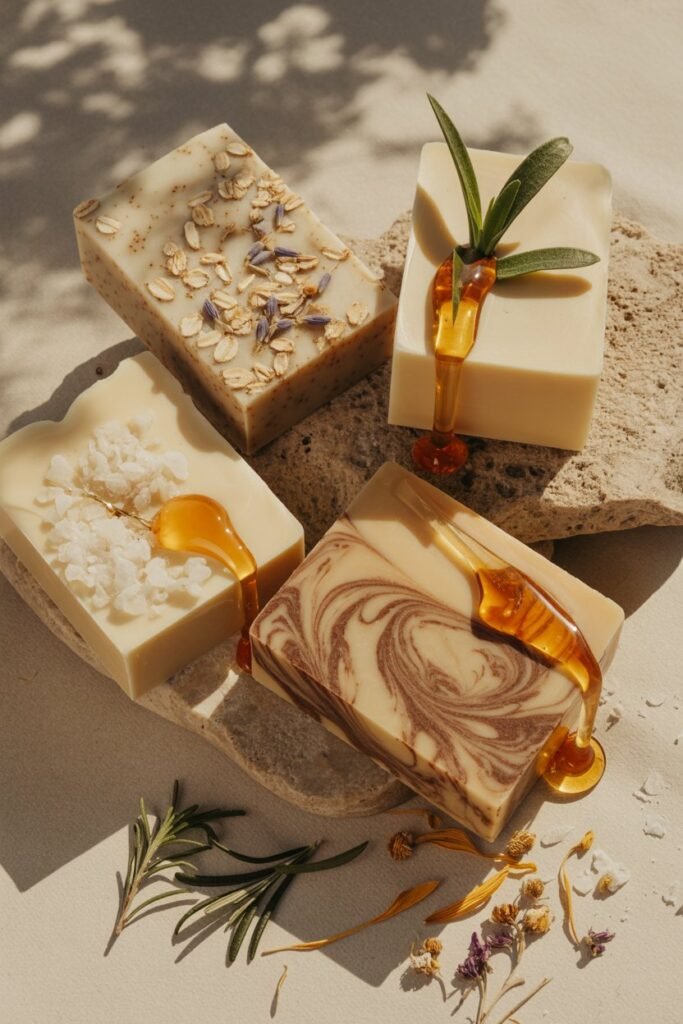
Make your soaps more luxurious with:
- Oatmeal
- Dried flowers
- Honey
- Goat milk
- Coffee grounds
- Aloe vera
- Herbs
- Sea salt
Common Soap Making Mistakes Beginners Make
Using Incorrect Measurements
Always weigh ingredients accurately.
Overheating Soap Base
This can burn the soap.
Mixing Too Long
Soap can thicken too quickly.
Skipping Safety Gear
Never handle lye carelessly.
Adding Too Much Fragrance
Too much fragrance can irritate skin.
How Long Does Homemade Soap Last?
Properly stored soap can last:
- 1–2 years for cold process soap
- Several months for melt-and-pour soap
Store soap in a cool, dry area.
How to Package Homemade Soap
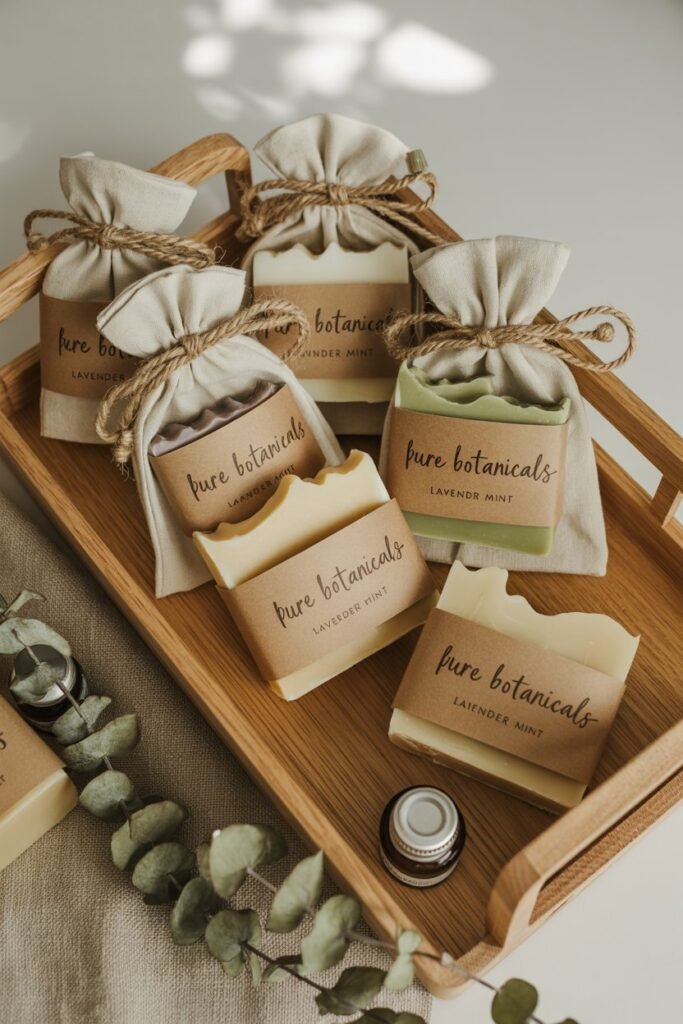
Beautiful packaging makes soap feel luxurious.
Ideas include:
- Kraft paper wraps
- Cotton bags
- Boxes
- Twine and labels
- Wax paper wraps
Homemade soap also makes excellent gifts.
Can You Start a Soap Business?
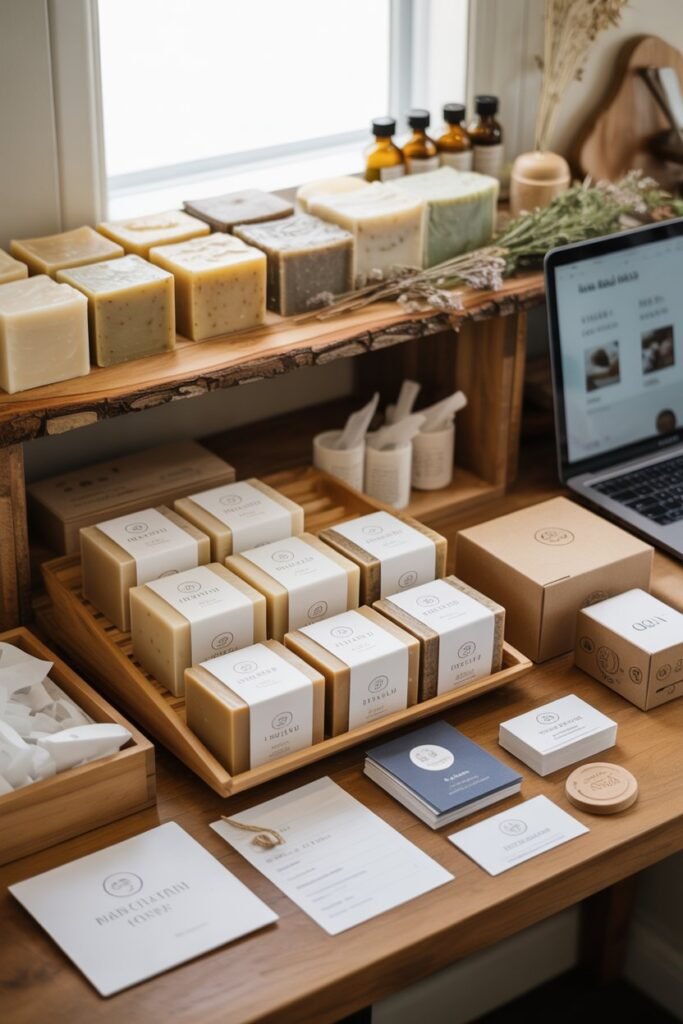
Absolutely.
Many people turn soap making into a profitable small business.
You can sell:
- Artisan soaps
- Organic soaps
- Luxury spa bars
- Seasonal soaps
- Gift sets
Popular selling platforms:
- Etsy
- Shopify
- Local markets
- Facebook Marketplace
Beginner Soap Making Tips for Success
Start Simple
Don’t overcomplicate recipes.
Practice Small Batches
Avoid wasting ingredients.
Take Notes
Record oils, fragrances, and results.
Be Patient
Soap making improves with experience.
Learn Ingredient Properties
Understanding oils improves recipes.
Best Oils for Different Skin Types
Dry Skin
- Shea butter
- Olive oil
- Avocado oil
Oily Skin
- Tea tree oil
- Clay additives
- Activated charcoal
Sensitive Skin
- Goat milk
- Oatmeal
- Unscented soap
Why Homemade Soap Feels Better on Skin
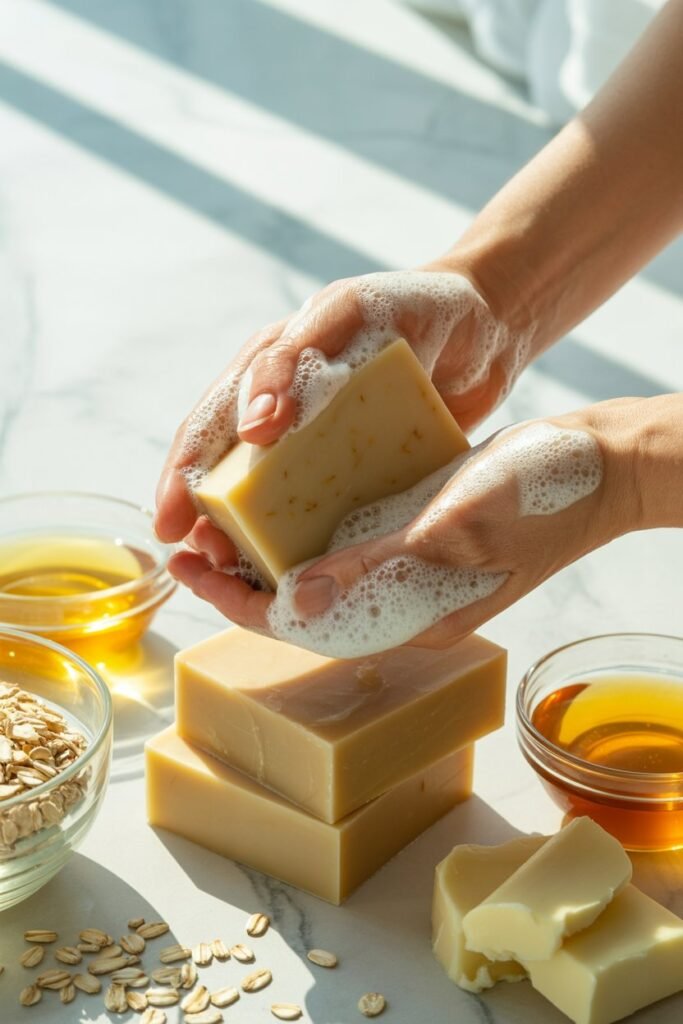
Handmade soap retains natural glycerin, which helps moisturize the skin.
Commercial soap often removes glycerin during manufacturing.
That’s why homemade soap typically feels:
- Creamier
- Softer
- More nourishing
Fun Soap Making Ideas for Beginners
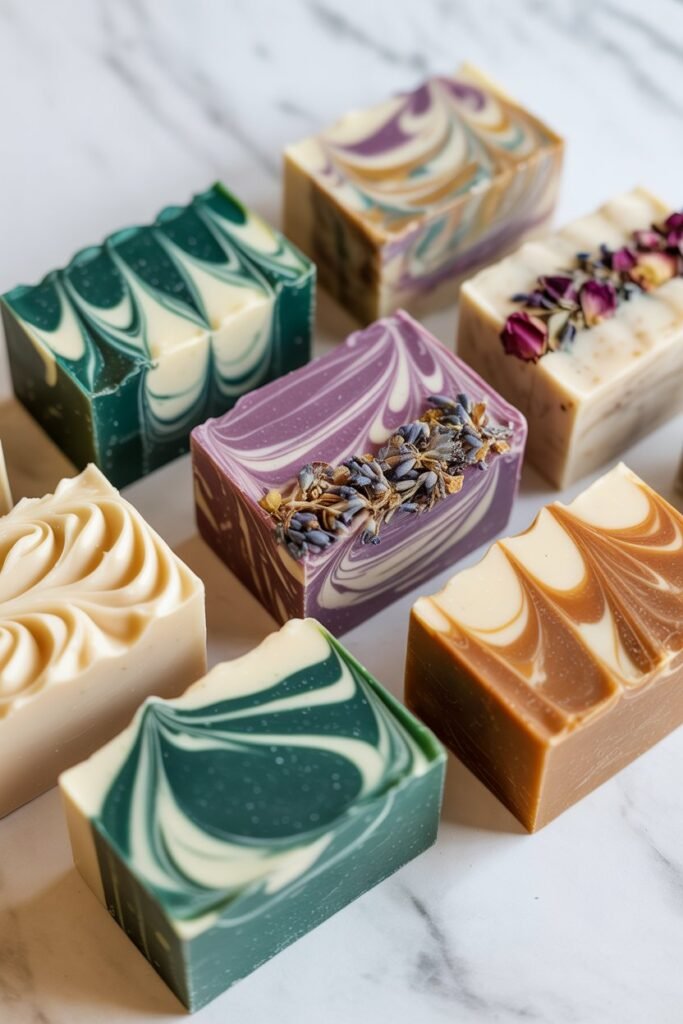
Once you learn the basics, try:
- Layered soaps
- Swirl designs
- Seasonal soaps
- Floral soaps
- Marble soaps
- Transparent soaps
- Exfoliating soaps
Soap making becomes more creative over time.
Frequently Asked Questions
Is Soap Making Expensive?
Not necessarily. Beginners can start with affordable basic supplies.
Can I Make Soap Without Lye?
Real soap requires lye, but melt-and-pour soap avoids direct lye handling.
How Long Does Soap Take to Cure?
Cold process soap usually cures for 4–6 weeks.
Is Homemade Soap Better Than Store Soap?
Many people prefer homemade soap because it contains fewer harsh ingredients.
Can Children Make Soap?
Kids can help with melt-and-pour soap under supervision.
Final Thoughts
Learning how to make soap for beginners is easier than many people think. With the right tools, ingredients, and safety precautions, anyone can create beautiful handmade soaps at home.
Soap making combines creativity, skincare, and craftsmanship into one enjoyable hobby.
Whether you want natural skincare products, handmade gifts, or even a future business, homemade soap making is a valuable skill worth learning.
Start simple, practice often, and enjoy the process. Your first soap bars may not be perfect, but each batch teaches you something new.
Over time, you’ll develop your own unique recipes, favorite ingredients, and signature soap designs.
The journey into handmade soap making is exciting, relaxing, and incredibly rewarding.