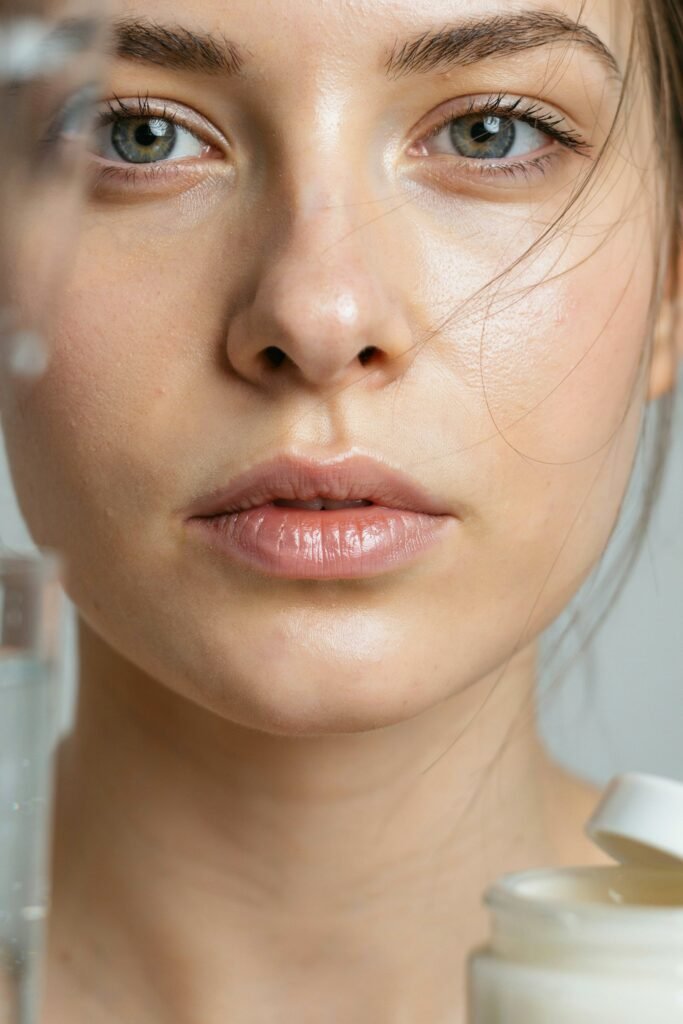
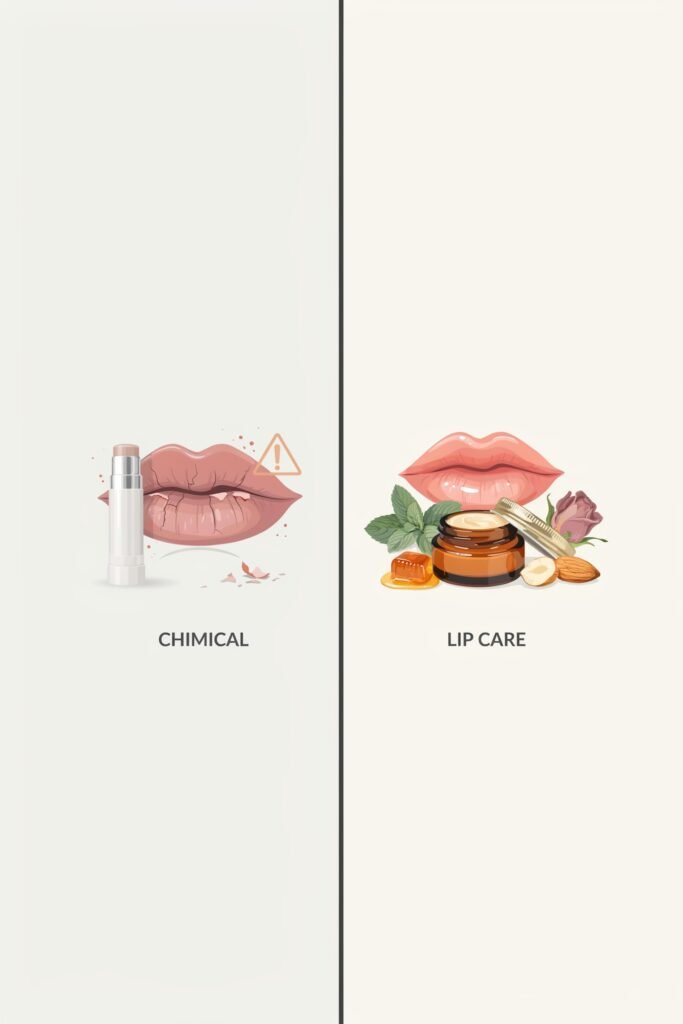
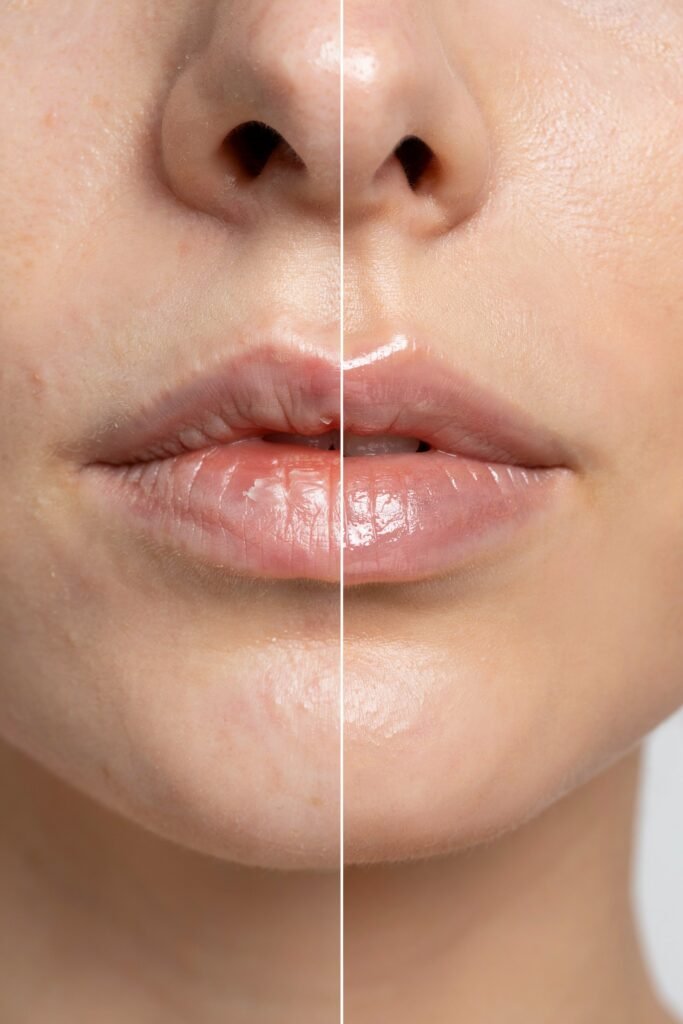
Dry, chapped lips can be frustrating, especially when the weather changes or when you’re constantly outdoors.
I used to rely heavily on store-bought lip balms, but over time I realized many of them only gave temporary relief without truly healing my lips.
That’s when I started experimenting with homemade lip care. Creating my own DIY moisturizing lip balm completely changed my lip care routine.
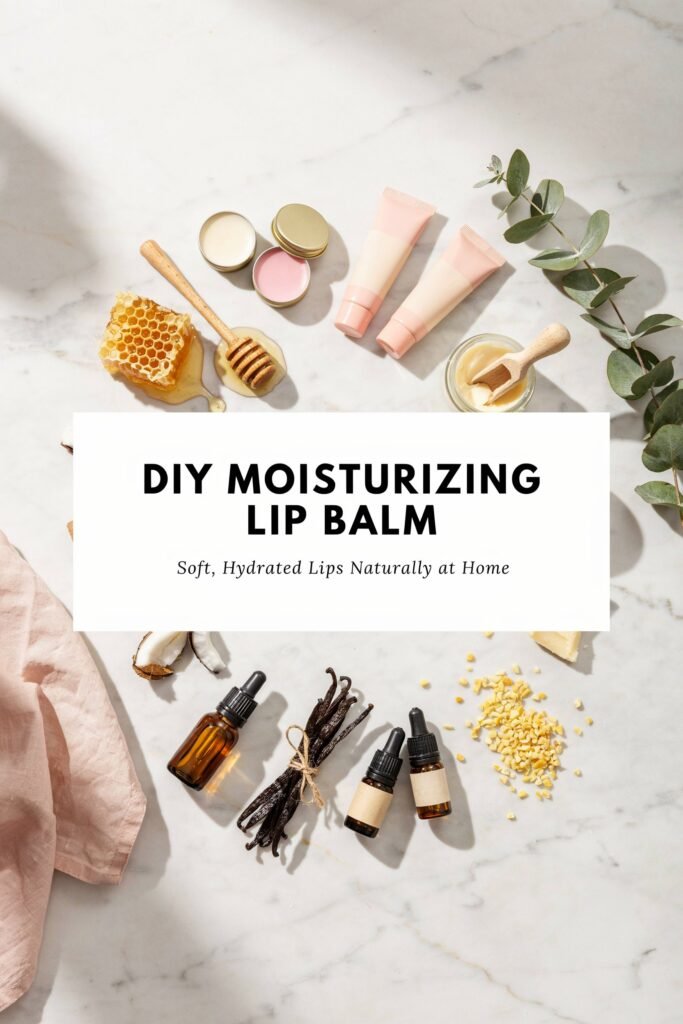
It feels more natural, more nourishing, and surprisingly easy to make with just a few simple ingredients from home or a local store.
In this guide, I’ll walk you through everything you need to know—from ingredients and benefits to step-by-step recipes and variations so you can customize your own perfect lip balm.
Why Lips Become Dry, Chapped, and Damaged So Easily
Before making a lip balm that actually works, it helps to understand why lips struggle in the first place.
Unlike the rest of your skin, your lips are uniquely vulnerable.
They:
- Have no oil glands to naturally moisturize themselves
- Have a very thin protective layer
- Are constantly exposed to air, sun, wind, and temperature changes
- Lose moisture faster than facial skin
This means your lips are always in a cycle of losing and needing moisture.
Common hidden causes of chronic dry lips:
Even if you drink water and use balm, dryness can still persist due to:
- Constant lip licking (which actually dries lips more)
- Dehydration from caffeine or low water intake
- Harsh weather (harmattan, cold air, heat, humidity shifts)
- Low-quality lip products that block healing
- Vitamin deficiencies (especially B2, B3, B6, and iron)
- Over-exfoliation or harsh scrubbing
- Breathing through the mouth while sleeping
Understanding these causes is important because lip balm alone isn’t magic—it works best when it supports healthy habits.
What Makes DIY Moisturizing Lip Balm Truly Effective
Homemade lip balm works differently from most commercial products because it focuses on repair + protection + nourishment, not just surface shine.
A good DIY balm does three things:
1. Locks in moisture
Natural waxes like beeswax create a protective barrier that prevents moisture loss.
2. Repairs damaged skin
Butters and oils penetrate and support healing from within.
3. Protects against future dryness
It shields lips from environmental stress without clogging or irritating them.
This combination is what allows long-term improvement instead of temporary relief.
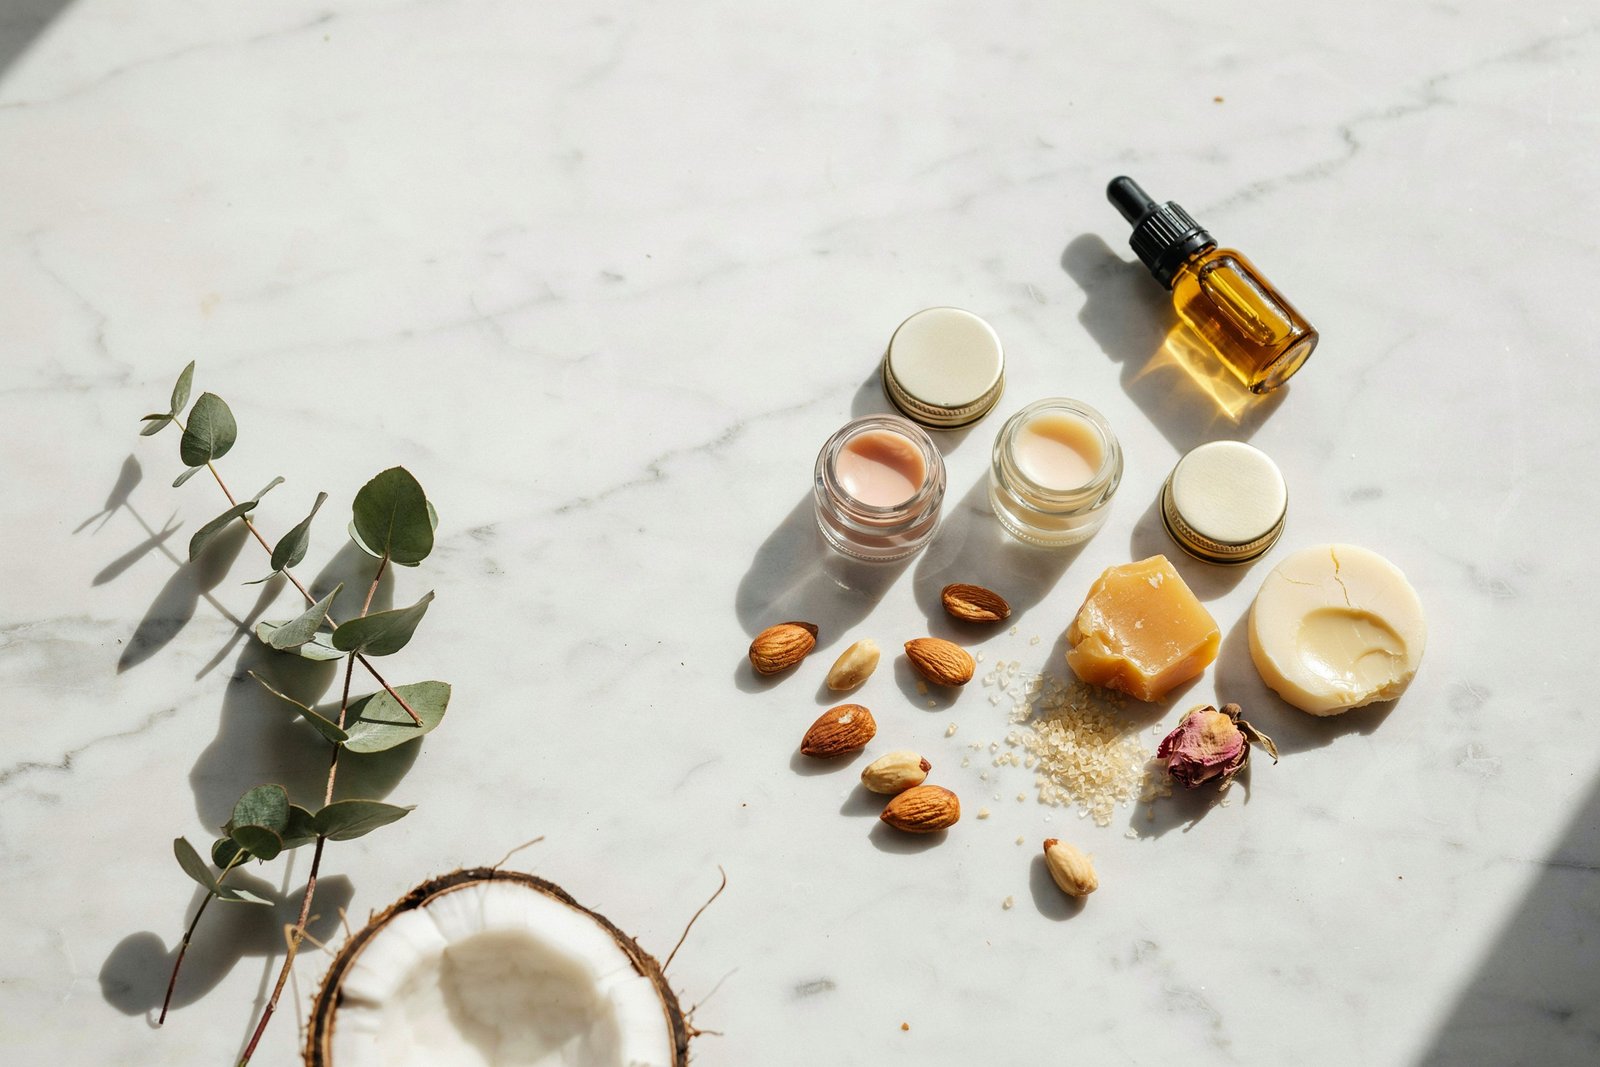
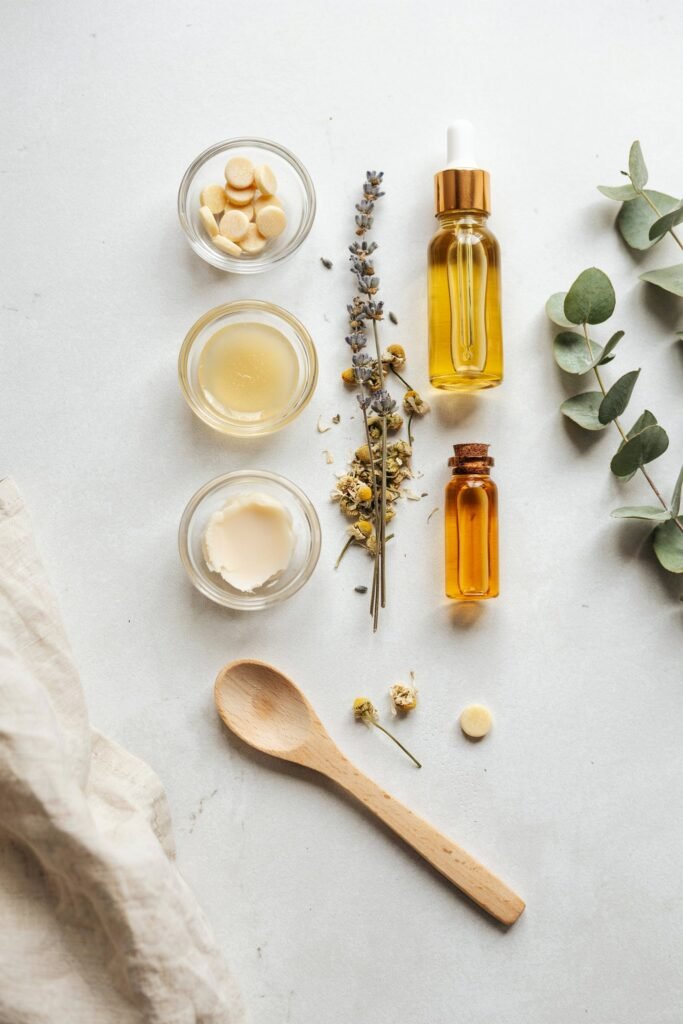
Understanding the Core Ingredients in Depth
Let’s go deeper than basic lists and understand what each ingredient actually does.
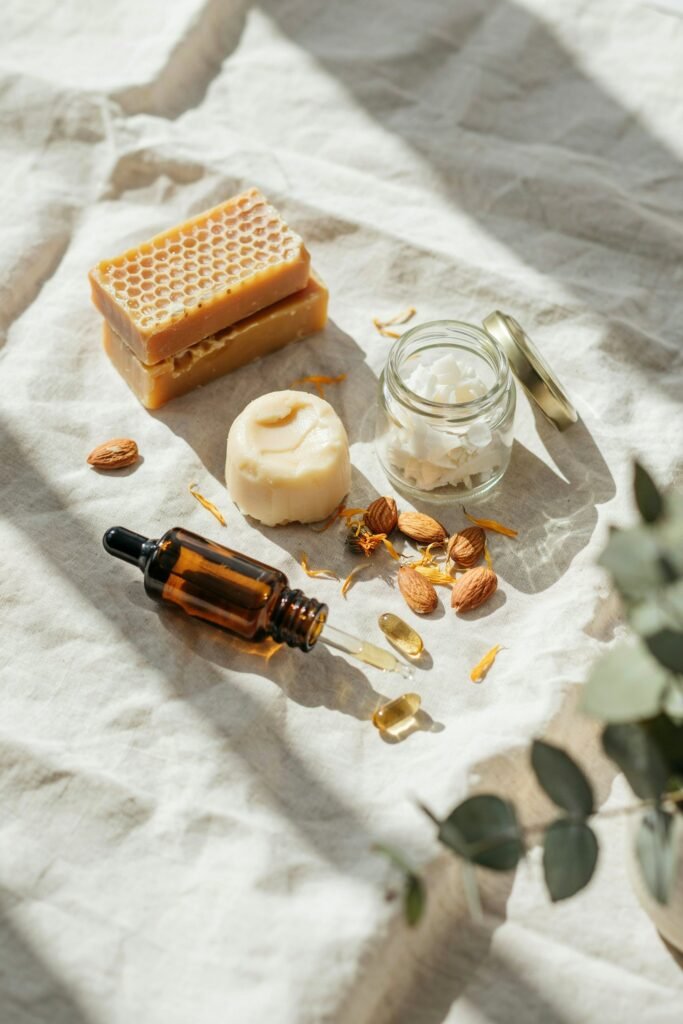
Beeswax (The Structural Protector)
Beeswax is what gives lip balm its solid form, but its role goes beyond structure.
It:
- Forms a breathable barrier over the lips
- Seals in moisture without suffocating skin
- Protects against wind and dry air
- Helps balm stay stable in warm temperatures
Without beeswax, lip balm would simply melt into oil and lose its protective function.
Shea Butter (Deep Skin Repair Agent)
Shea butter is one of the most powerful natural moisturizers available.
It contains:
- Fatty acids that rebuild skin softness
- Vitamins A and E for healing
- Anti-inflammatory compounds that reduce irritation
It is especially helpful for lips that are:
- Cracked
- Peeling
- Rough or uneven in texture
Shea butter doesn’t just moisturize—it helps restore the lip surface over time.
Coconut Oil (Fast Absorbing Hydration)
Coconut oil works quickly because it penetrates easily into skin layers.
Its benefits include:
- Immediate hydration relief
- Reduction in flakiness
- Natural antibacterial protection
- Smooth, glossy finish
It’s ideal for daily use and works well in almost every lip balm formula.
Almond Oil (Softness Enhancer)
Almond oil improves the elasticity and smoothness of lips.
It:
- Reduces dryness lines
- Enhances softness
- Improves long-term texture
- Adds lightweight hydration
It is especially good for mature or very dry lips.
Vitamin E Oil (Healing Booster)
Vitamin E is often called a “repair vitamin” for skin.
It:
- Speeds up healing of cracks
- Helps fade lip discoloration
- Protects against environmental damage
- Extends shelf life of homemade balm
Even small amounts make a big difference.
Improved Professional DIY Moisturizing Lip Balm Recipe
This version is more balanced for real, long-lasting results.
Ingredients:
- 2 tbsp beeswax
- 2 tbsp shea butter
- 2 tbsp coconut oil
- 1 tbsp almond oil
- 5–6 drops vitamin E oil
- Optional: 2–3 drops essential oil
Step-by-Step Method (Detailed)
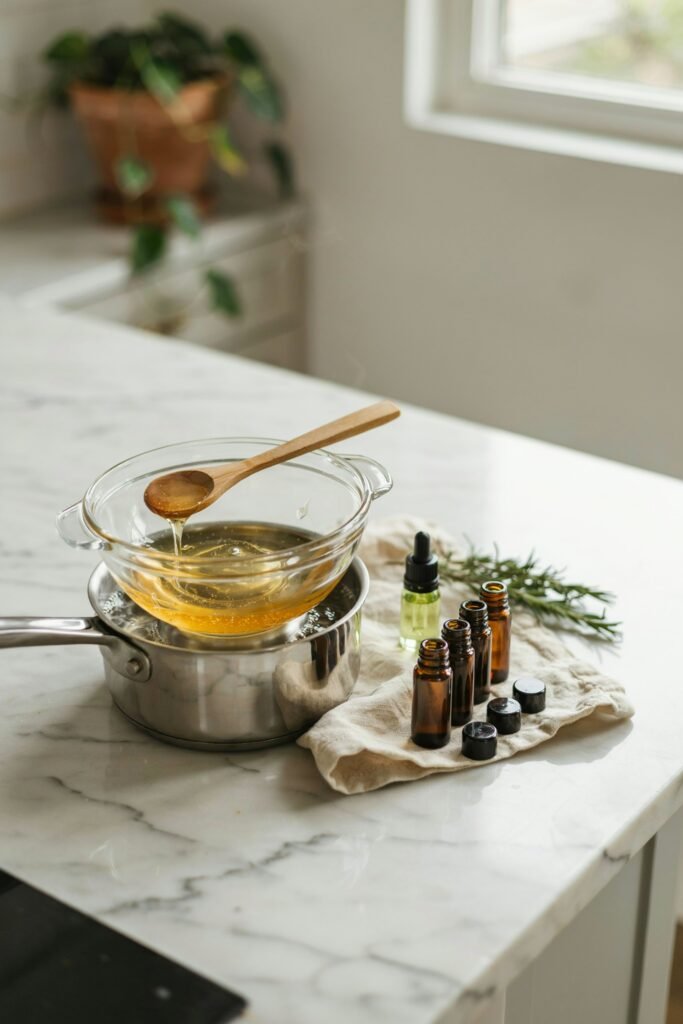
Step 1: Prepare Your Melting Setup
Start by setting up a double boiler. This simply means placing a heat-safe glass or metal bowl over a pot of simmering water.
The indirect heat is very important because it gently melts the ingredients without burning them or destroying their natural nutrients.
Make sure your workspace is clean and dry before you begin.
Also prepare your lip balm containers in advance so you can pour quickly once the mixture is ready.
Step 2: Melt Base Ingredients Slowly
Begin by adding beeswax first into the bowl, since it takes the longest to melt. Once it starts softening, add the shea butter and coconut oil.
Keep the heat low and stir gently but consistently.
This slow melting process ensures all ingredients blend evenly and don’t separate later.
Continue stirring until the mixture turns into a fully liquid, smooth, and uniform blend.
Step 3: Check Texture Consistency
Once everything is melted, observe the mixture carefully.
It should look glossy, smooth, and completely combined without any solid bits floating or sticking to the sides.
This step matters because texture at this stage directly affects the final lip balm.
If you notice graininess or uneven melting, keep stirring over low heat until everything becomes perfectly smooth.
Step 4: Remove from Heat Carefully
When the mixture is fully smooth, remove the bowl from the heat immediately.
Allow it to cool for about 1–2 minutes.
This slight cooling step is important because it protects sensitive ingredients that will be added next.
If the mixture is too hot, it can reduce the effectiveness of natural oils like vitamin E.
Step 5: Add Nourishing Oils
Now add the almond oil and vitamin E oil into the slightly cooled mixture. Stir thoroughly to make sure everything blends evenly.
These oils are what give your lip balm its deep moisturizing and healing power.
Almond oil softens the lips and improves texture, while vitamin E helps repair damage and supports long-term lip health.
Step 6: Add Fragrance (Optional)
If you prefer a scented lip balm, add essential oils at this stage.
Only a few drops are needed—usually 2 to 3 drops is enough.
Popular choices include peppermint for a cooling effect, lavender for calming benefits, or vanilla for a soft natural scent.
Avoid overusing essential oils, as too much can irritate sensitive lips.
Step 7: Pour Immediately
Carefully pour the liquid mixture into clean lip balm containers or small jars while it is still fully fluid.
Work quickly but carefully because the mixture will start thickening as it cools.
If it begins to harden before you finish, gently warm it again for a few seconds and continue pouring.
Make sure each container is filled evenly for a clean, professional finish.
Step 8: Let It Set
Leave the filled containers at room temperature for 1–3 hours so the balm can fully solidify.
Do not move or shake them during this time, as it can affect the final texture.
Once set, the balm should feel firm but slightly soft and smooth when applied to the lips.
Your DIY moisturizing lip balm is now ready to use—natural, nourishing, and long-lasting.
Advanced DIY Lip Balm Variations (Expanded)
Ultra Healing Overnight Balm
Best for intense repair.
Add:
- Extra shea butter
- Honey (natural humectant)
- Avocado oil
Works like a deep overnight treatment mask.
Natural Tinted Lip Balm
Adds color while hydrating.
Options:
- Beetroot powder for pink tones
- Cocoa powder for nude brown tones
This gives a natural “your lips but better” effect.
Cooling Mint Lip Balm
Adds refreshing sensation.
Add:
- Peppermint oil (1–2 drops only)
Improves blood circulation slightly for a fresh feel.
Dry Weather Protection Balm
Perfect for harsh climates.
Increase:
- Beeswax
- Shea butter
Reduces moisture loss significantly.
Soft Gloss Balm
For shine and hydration.
Add:
- More coconut oil
- A tiny amount of castor oil
Creates natural glossy finish.
Lip Care Routine Using DIY Balm (Complete System)

Morning:
- Clean lips gently
- Apply thin layer of balm
- Reapply before going out
Daytime:
- Apply after meals
- Avoid lip licking
- Stay hydrated consistently
Night:
- Light exfoliation (2–3 times weekly)
- Apply thick balm layer
- Leave overnight
Consistency builds results.
DIY Lip Scrub (Essential Step)
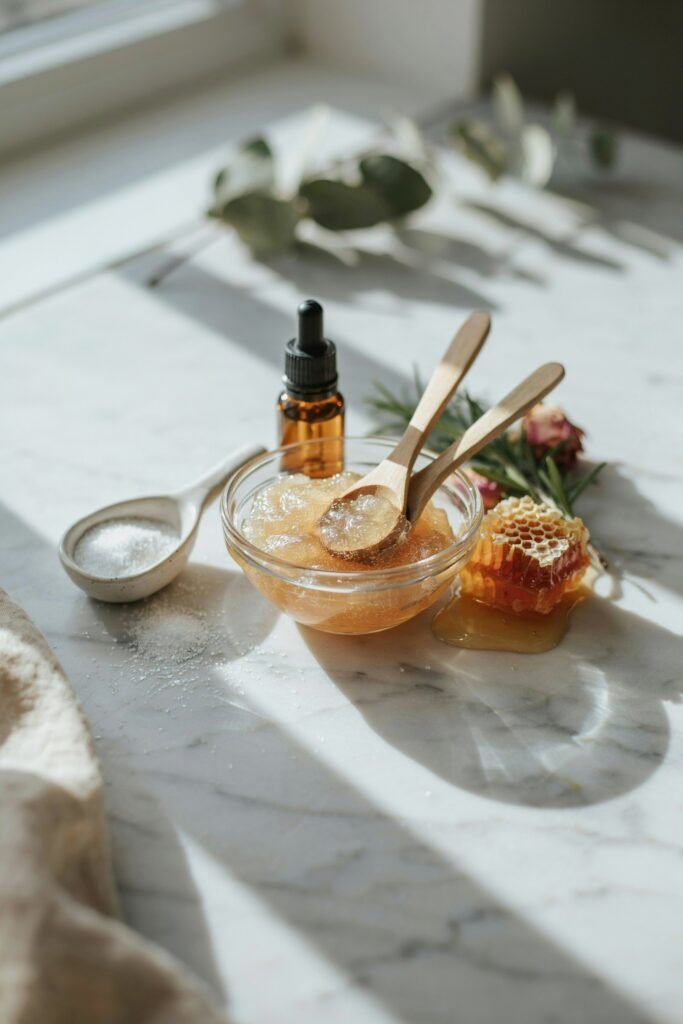
Without exfoliation, balm cannot fully absorb.
Simple scrub:
- Sugar
- Honey
- Coconut oil
Massage gently for 30–60 seconds.
Common Mistakes That Reduce Results
- Using too much oil (causes soft, unstable balm)
- Skipping beeswax completely
- Overheating ingredients
- Using low-quality essential oils
- Applying balm on unclean lips
- Not storing properly
Small mistakes affect performance a lot.
Storage Guide
- Keep in cool, dry place
- Avoid direct sunlight
- Use clean applicators
- Shelf life: 6–12 months
Long-Term Benefits (What You Notice Over Time)
With consistent use:
- Lips become naturally soft
- Cracking reduces significantly
- Lip tone becomes more even
- Dryness episodes decrease
- Lips feel hydrated even without balm
Frequently Asked Questions (FAQ)
1. What is DIY moisturizing lip balm?
DIY moisturizing lip balm is a homemade lip care product made using natural ingredients like beeswax, oils, and butters. It helps hydrate, protect, and repair dry or chapped lips without harsh chemicals.
2. Is homemade lip balm actually effective?
Yes. Homemade lip balm can be very effective because it uses natural ingredients that deeply nourish the lips instead of just coating the surface like many commercial products.
3. How long does DIY lip balm last?
Most homemade lip balms last between 6 to 12 months if stored properly in a cool, dry place and kept in clean containers.
4. Do I need beeswax to make lip balm?
Beeswax is highly recommended because it gives the balm structure and helps lock in moisture. However, you can replace it with plant-based waxes like candelilla wax for a vegan option.
5. Can I use DIY lip balm every day?
Yes. DIY lip balm is safe for daily use. In fact, regular use helps maintain soft, hydrated lips and prevents dryness and cracking.
6. Why do my lips still feel dry even after using lip balm?
This can happen if the balm only sits on the surface without deep nourishment, or if you are dehydrated, licking your lips often, or using low-quality ingredients.
7. Can I add color to homemade lip balm?
Yes. You can add natural ingredients like beetroot powder for pink tones or cocoa powder for a nude tint. These give a soft, natural color without chemicals.
8. Is DIY lip balm safe for sensitive lips?
Yes, as long as you use gentle, natural ingredients and avoid strong essential oils in high amounts. Always do a small patch test first.
Final Thoughts
DIY moisturizing lip balm is not just a beauty recipe—it’s a shift toward understanding what your skin actually needs.
Instead of relying on temporary fixes, you’re building something that works with your body, not against it.
Once you get used to making and using your own balm, store-bought options often feel unnecessary because the difference in hydration quality becomes very clear.
It’s simple, natural, and surprisingly effective when done consistently.